
Last updated November 18, 2026








Free written scope consultation - allowances, timeline, and change-order rules on paper before a single trade is scheduled
Bathroom Remodeling Maintenance Schedule: What to Do and When
Silicone caulk at the joint where a shower floor meets the wall has a working life of roughly 3 to 5 years in a South Florida bathroom. Most homeowners don’t look at it until water is already behind the tile and the substrate underneath is soft. That gap between when a seal fails and when you notice it is where most bathroom damage starts, and it’s why a remodeled bathroom here needs a schedule built for Cutler Bay’s humidity, water chemistry, and storm season rather than the generic annual checklist you’ll find on national home sites. This guide lays out that schedule month by month, quarter by quarter, and year by year, and explains which tasks protect the work you paid for.
Quick Answer
A bathroom in Cutler Bay needs a monthly wipe-down of wet surfaces and a quick caulk and grout check, a quarterly deep clean of grout, drains, and the exhaust fan, and a full annual inspection of seals, valves, and waterproofing. The annual inspection is the one that matters most: it catches failing caulk and grout before water reaches the substrate, which is where repairs turn from a tube of sealant into a tile removal job.
Styles & brands we work with
- Kitchen remodeling
- Bathroom remodeling
- Home additions & ADU
- Roofing
- Windows & doors
- Driveway & pavers
- Fence
Table of Contents
- Why a South Florida Bathroom Ages Faster Than the Manual Says
- The Monthly Schedule: Ten Minutes That Prevent Most Damage
- The Quarterly Schedule: Grout, Drains, and the Exhaust Fan
- The Annual Inspection: Running It Yourself in Seven Steps
- How to Inspect a Waterproofed Shower for Early Failure
- Which Maintenance Keeps Your Workmanship Warranty Valid
- Hard Water, Mineral Buildup, and What It Does to Fixtures
- Storm Season Prep for a Cutler Bay Bathroom
Why a South Florida Bathroom Ages Faster Than the Manual Says
A bathroom in most of the country spends part of the year dry. A bathroom in Cutler Bay does not. Between the outdoor humidity that runs high most of the year and the fact that a shower keeps interior moisture elevated for an hour after anyone uses it, a Cutler Bay bathroom rarely gets a full drying cycle. That changes the maintenance math in three specific ways.
First, mold pressure is constant rather than seasonal. Grout lines and the back corners of a shower stay damp long enough for mildew to establish, and once it’s in the grout pores, surface cleaning only pushes it back temporarily. Second, water hardness here leaves mineral deposits on fixtures and glass faster than in softer-water markets – a showerhead that would go a year between descaling elsewhere may need it every three months. Third, storm season means barometric swings and, in bad storms, wind-driven rain that finds its way into places a bathroom wall wasn’t designed to shed. We’ve opened walls after a summer and found moisture in spots that had nothing to do with the shower.
None of this means a well-built bathroom is fragile. It means the maintenance intervals are shorter and the inspection needs to be sharp. A Bathroom Remodeling in Cutler Bay project built with proper waterproofing and a correctly sized exhaust fan will outlast a cheap one by years, but both need the schedule below.
The Monthly Schedule: Ten Minutes That Prevent Most Damage
The monthly tasks are small and take about ten minutes. They exist to catch the beginning of a problem while it’s still cheap to fix.
- Wipe down wet surfaces after the last shower of the day. A squeegee on the glass and a quick pass on the tile keeps mineral film from bonding.
- Run a finger along every caulk joint. Press the silicone at the floor-to-wall seam and around the tub. If it feels soft, lifts at the edge, or shows a dark line behind it, it’s failing.
- Check the exhaust fan. Turn it on and hold a tissue to the grille. If the tissue doesn’t pull tight against it, the fan is losing airflow and the room isn’t clearing.
- Look at the ceiling under the bathroom from the floor above or the room below. A faint stain is the earliest sign of a supply line or drain leak.
- Test the toilet base for movement. A toilet that rocks slightly is a wax ring waiting to fail, and that failure goes into the subfloor.
In our experience, the caulk check is the one homeowners skip. It’s also the one that saves the most. Silicone at the shower base is a wear item, not a permanent seal, and in a bathroom that stays humid it’s on the shorter end of its 3 to 5 year life.
The Quarterly Schedule: Grout, Drains, and the Exhaust Fan
Every three months, go deeper. This is where Cutler Bay’s hard water and humidity get addressed directly.
- Deep clean the grout with a pH-neutral cleaner. Acidic cleaners eat grout and sealer over time. Use a soft brush, not a wire one, which opens the pores you’re trying to protect.
- Clear the drain assembly. Pull the stopper, remove hair and soap scum from the strainer, and flush the trap with hot water. A slow drain keeps the shower floor wet longer, which is exactly the condition that feeds mildew.
- Descale fixtures and glass. A 50/50 white vinegar and water soak on the showerhead for 20 minutes dissolves mineral buildup that a sponge won’t touch.
- Clean the exhaust fan grille and check the duct. Dust on the grille cuts airflow. If the fan rattles or the duct flap sticks, the fan is moving less air than its rating.
- Check the supply valves under the sink and behind the toilet. Turn them closed and open once to keep them from seizing. A valve that won’t turn is a valve that fails when you need it most.
That last item matters more than people think. We’ve seen a shutoff valve that hadn’t moved in years shear off mid-repair, turning a small fix into a flood. Exercising the valves quarterly costs nothing.
The Annual Inspection: Running It Yourself in Seven Steps
Once a year, set aside an hour and work through the bathroom the way a contractor would at job close. This is the inspection that separates a maintenance item (do it yourself) from an emerging defect (call someone).
- Look at every caulk and grout joint with a flashlight. Cracks, gaps, dark lines, or caulk that pulls away when pressed are failures. Note where.
- Press on the tile around the shower floor and the wall behind it. Tiles that sound hollow or flex under pressure mean the substrate has lost bond. That’s not a caulk job.
- Check the shower pan for movement. Step across the floor. A pan that flexes is a waterproofing problem underneath.
- Inspect the exhaust fan’s performance. Hold a tissue to the grille again. If airflow has dropped since last year, the duct may be clogged or disconnected.
- Look for water stains on the ceiling below and at the base of walls. Any stain means moisture is traveling where it shouldn’t.
- Test every supply valve and look for corrosion at the fittings. Green or white crust on a fitting is a leak in progress.
- Check the drain and overflow gaskets. A tub or shower drain with a loose gasket leaks slowly into the floor structure, and it’s easy to spot from underneath if you can access it.
Write down what you find. A dated list is how you tell a new problem from an old one next year, and it’s exactly the kind of record that keeps a warranty claim clean.
How to Inspect a Waterproofed Shower for Early Failure
The waterproofing in a shower is hidden behind tile and backer board, but it announces itself before it fails openly. The trick is knowing what to look for, and where.
Start at the shower floor perimeter, where the pan meets the wall. The caulk joint there is the first line of defense. If it’s intact, water stays out. If it’s lifting or dark behind the bead, moisture is already wicking in. Next, look at the bottom row of wall tiles. Efflorescence (a white, powdery crust) at the grout lines means water is moving through and evaporating at the surface. That’s a sign of moisture behind the tile, not on it.
- Hollow tile sounds. Tap the wall tile with a plastic tool. A dull thud means the tile has debonded from the substrate, often from moisture.
- Grout that crumbles when you touch it. Healthy grout is hard. Crumbly grout in a wet zone means it’s been wet repeatedly.
- A musty smell that returns after cleaning. That’s the substrate, not the surface.
- A shower pan that flexes. Any movement means the waterproofing membrane underneath has likely failed.
- Soft or discolored drywall at the base of the wall outside the shower. Water travels further than the visible wet area.
If you find any of these, stop cleaning and start calling. A failed shower waterproofing is a tear-out, and every month of delay adds to the repair. A properly waterproofed bathroom from a General Contractor in Cutler Bay gives you years of service, but only if the seals on top get maintained.
Which Maintenance Keeps Your Workmanship Warranty Valid
A workmanship warranty covers defects in how the work was done. It does not cover damage from neglect or from work a homeowner did afterward. That’s true of the 365-Day Done Right Promise and every written guarantee worth the paper it’s printed on, and the difference matters when you call.
Here’s how it breaks down in practice.
- Maintenance that preserves the warranty: routine cleaning with pH-neutral products, replacing worn caulk at joints, descaling fixtures, clearing drains, and keeping the exhaust fan running and clean. These are the tasks the warranty assumes you’ll do.
- Tasks that are safe to do yourself if done correctly: re-caulking a joint, tightening a supply line, replacing a showerhead, snaking a slow drain.
- Tasks that void coverage if they cause damage: using acid-based cleaners on grout and stone, scraping tile with metal tools, painting over or sealing the shower floor without checking compatibility, poking at the waterproofing, or moving plumbing without a pro. A homeowner who uses an abrasive to remove mineral stains and gouges the tile has damaged the finish, and that damage isn’t covered.
The clean rule: clean and seal, but don’t alter the waterproofing or the plumbing. When in doubt, call us before you touch it. A five-minute conversation is cheaper than a repair.
Hard Water, Mineral Buildup, and What It Does to Fixtures
Hard water is the quiet villain of a Cutler Bay bathroom. The minerals in the water bond to the surfaces they touch, and the buildup happens faster than most people expect. You’ll notice it on the showerhead, the glass, the faucet aerators, and the toilet bowl rim.
The fix is regular descaling, not occasional scrubbing. A showerhead that gets a 20-minute vinegar soak every three months will outlast one that gets scrubbed hard twice a year. The same goes for the glass: a squeegee pass after every shower takes seconds and stops mineral film from bonding. If your water is especially hard, a whole-home softener is worth considering, and it protects the fixtures and the finish on a premium Kohler or Moen fixture as much as it protects the shower itself.
Aerate and flush the valves too. Mineral buildup on a supply valve is what makes it seize, and a seized valve behind a finished wall is a project. We specify fixtures with accessible valve designs for exactly this reason. To see the fixtures we work with, look at our Kitchen Remodeling in Cutler Bay page – the same brands show up in both rooms, and the finish quality matters the same way.
Storm Season Prep for a Cutler Bay Bathroom
Cutler Bay’s storm season runs roughly June through November, and the bathroom gets hit from two directions: wind-driven rain against the exterior wall, and the humidity that stays elevated for days after a storm passes.
Before the season, do a window and vent check. Look at the caulk around any bathroom window and at the exterior vent hood for the exhaust fan. A vent hood that doesn’t close fully lets wind-driven rain in through the duct. After a major storm, walk the bathroom with a flashlight: check the ceiling and the base of walls for stains, and check that the exhaust fan still pulls. If you had any roof or window intrusion, look at the bathroom wall nearest that penetration. Water travels.
If you’re planning a remodel, this is also the window to think about the materials. We install buildings with storm-rated windows and doors from Therma-Tru and GAF roofing above them, and the exterior work on a bathroom is where most of the long-term leaks come from. For the broader picture on home exterior and interior work, see Bradford Remodeling Co Cutler Bay home.
Common Mistakes to Avoid
- Sealing over wet grout. Grout sealer over damp grout traps moisture in the mortar and feeds mold. Grout has to be fully dry, and in a Cutler Bay bathroom that can take several days.
- Using acid cleaners on grout and stone. They eat the sealer and etch the surface. A pH-neutral cleaner does the job without the damage.
- Ignoring a slow drain. A drain that’s slowing keeps the floor wet between showers, which is the exact condition for a shower floor failure.
- Caulking over failed caulk. New silicone won’t stick to old, and you’ll hide the joint that needs to be fully removed and replaced.
- Letting the exhaust fan run only during the shower. Run it for 20 minutes after, or the room stays humid and never dries.
- Skipping the supply valve check. A valve that hasn’t moved in years fails when you turn it, and that’s a flood, not a fix.
- Blaming the contractor for damage your cleaning caused. A gouged tile from a metal scraper isn’t a workmanship defect, and a warranty claim like that will get declined.
See the difference
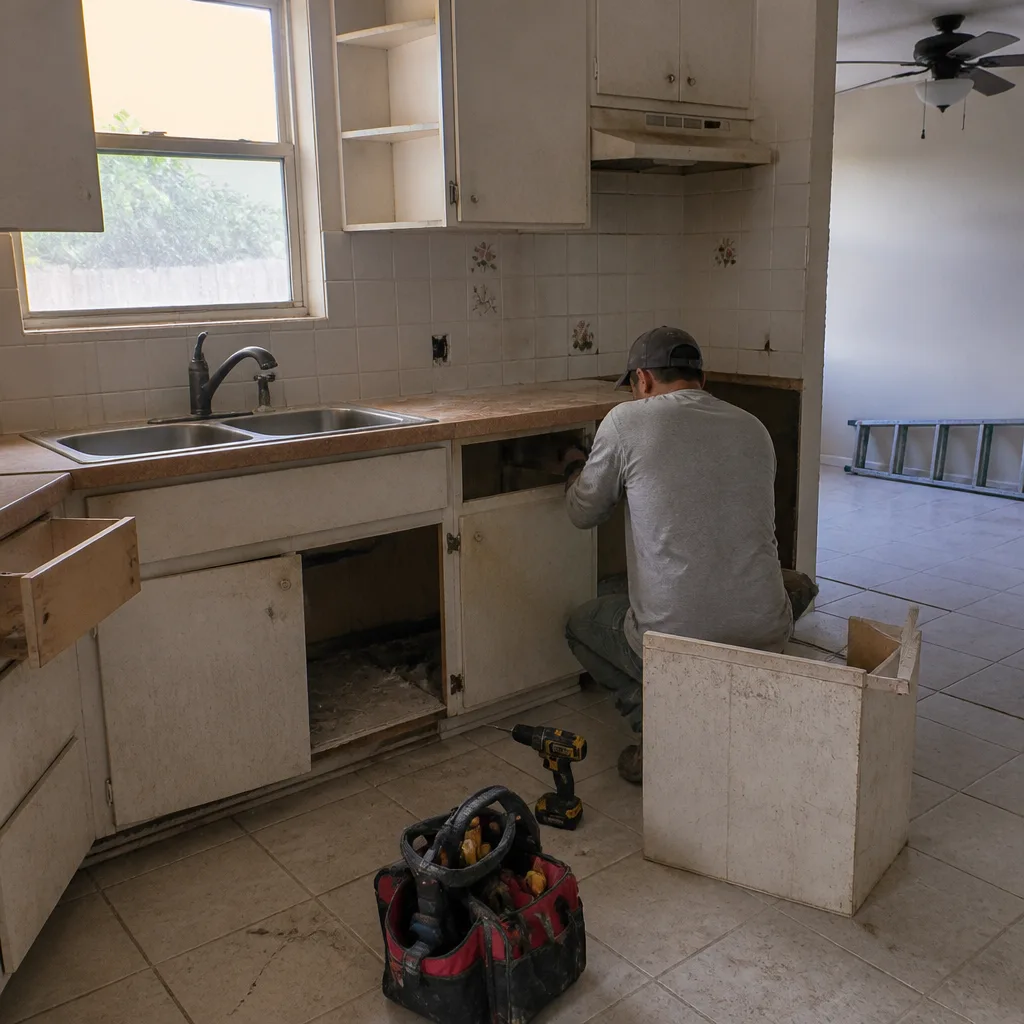 Before
 After
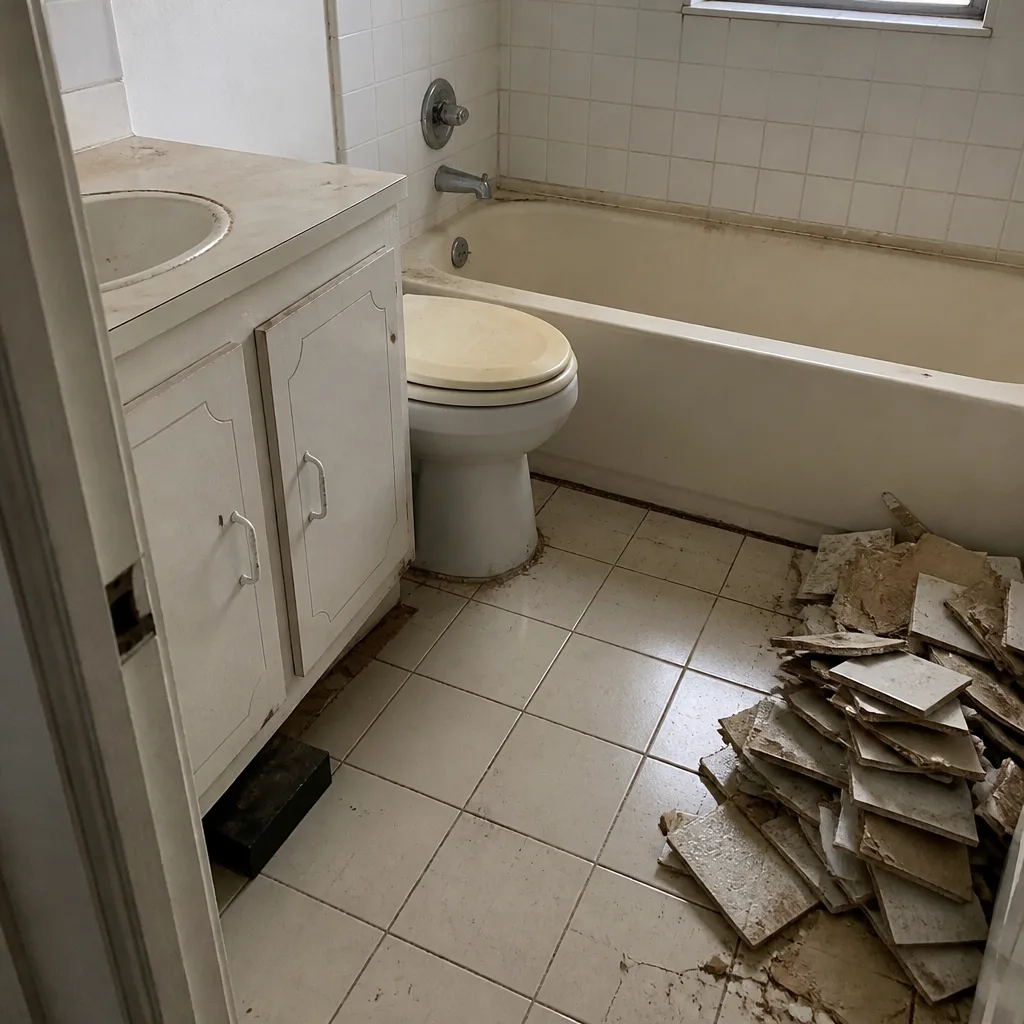 Before
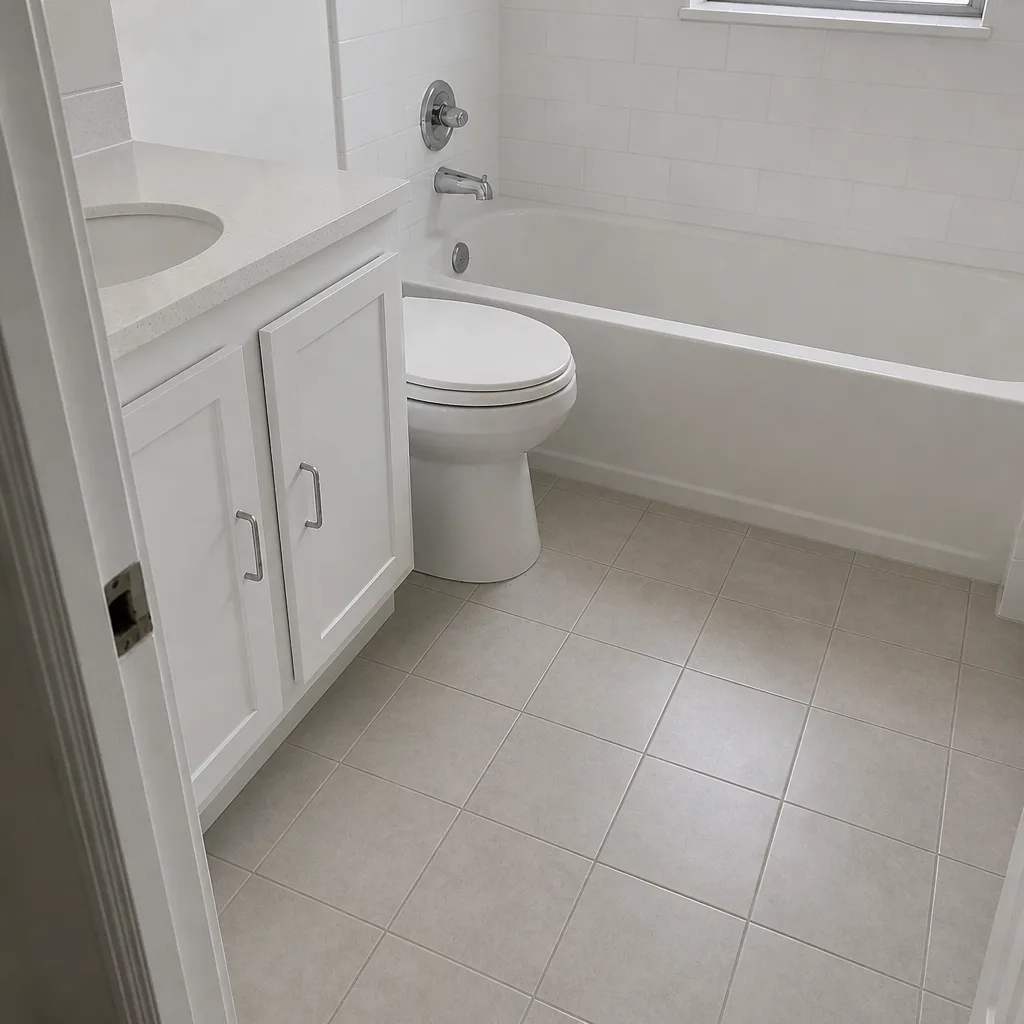 After
 Before
 After
When to Call a Professional
Call a pro when the problem is behind the tile, not on it. That means tile that sounds hollow or moves, a shower pan that flexes, grout that crumbles despite a recent reseal, a persistent musty smell after a deep clean, or any water stain on the ceiling below or the wall outside the shower. Those are waterproofing and substrate failures, and they get more expensive every week. Call a pro, too, if a supply valve seizes, a drain gasket leaks, or the exhaust fan has lost real airflow after a full clean. The maintenance in this guide handles the surface. When the problem goes deeper, it’s time for someone who knows what’s behind the tile. Bradford Remodeling Co Cutler Bay offers free estimates in Cutler Bay – call (833) 620-5491.
Frequently Asked Questions
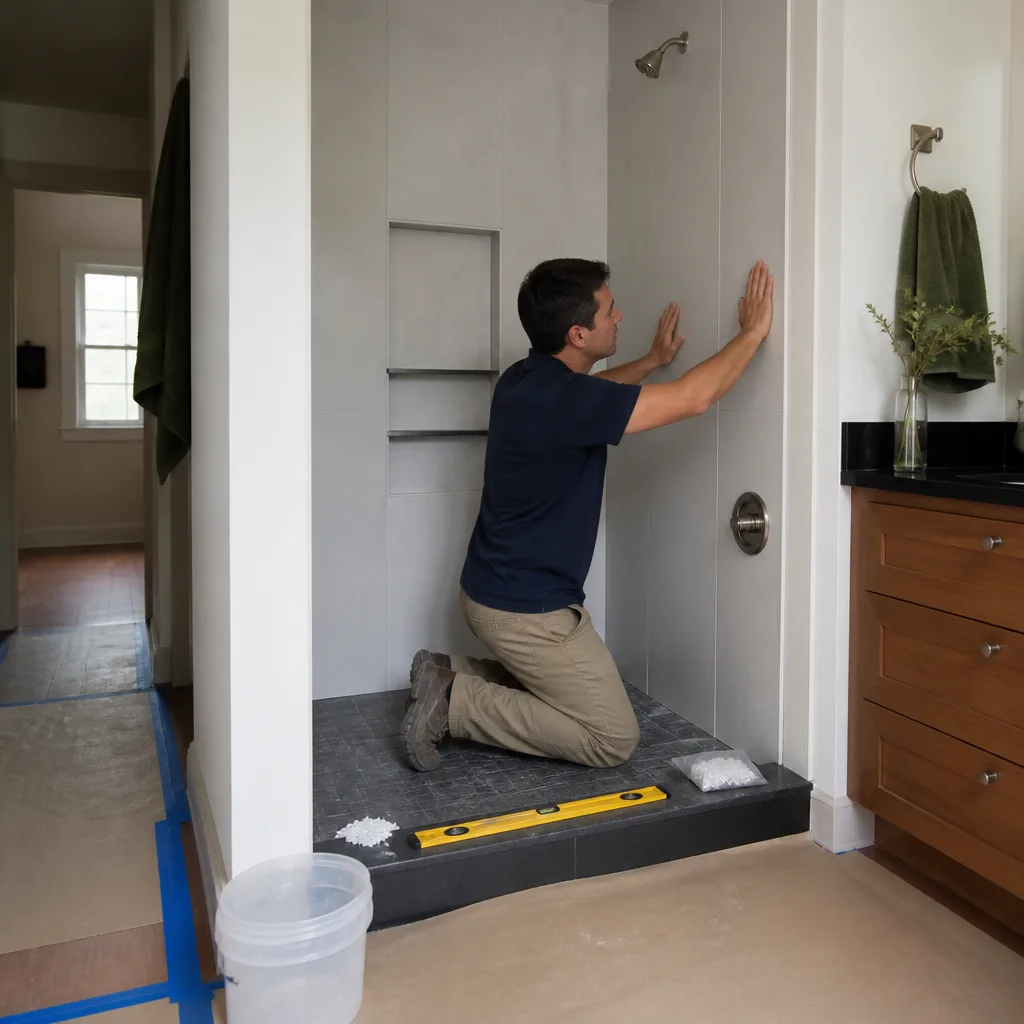
Plan on every 3 to 5 years for the silicone at the shower floor-to-wall joint, and sooner in a bathroom that stays humid. Check it monthly and replace the whole bead, not just the failing section, as soon as it feels soft or lifts at the edge.
Yes, in this climate. Grout sealer wears within a year in a bathroom that never fully dries between uses, and resealing yearly keeps water from soaking into the mortar. Seal only when the grout is completely dry, and always use a pH-neutral cleaner in between.
Yes, for cleaning, re-caulking, descaling, and clearing drains. The line is alteration: don’t touch the waterproofing, don’t use acid cleaners on grout, and don’t move plumbing on your own. The 365-Day Done Right Promise covers defects in our work, not damage from neglect or DIY damage, and we’ll tell you which is which before anyone picks up a tool.
The most common cause is a bathroom that never dries, usually from an exhaust fan that’s undersized for the room or not running long enough. Run the fan during and for 20 minutes after a shower, keep the grille and duct clean, and fix the humidity source before you clean the mold again.
Hollow-sounding tile, a flexible shower pan, crumbly grout, a musty smell that returns after cleaning, and water stains outside the shower are the honest signs. Any one of them means the waterproofing is suspect, and the next step is a professional inspection, not another tube of caulk.
If the fan is more than a decade old, undersized for the room, or noisy enough that you don’t run it, yes. A correctly sized, quiet fan is the single biggest factor in keeping a Cutler Bay bathroom dry, and it costs far less than repairing water damage. That’s a renovation item more than a maintenance item, and a bathroom renovation is the time to handle it right.
The Bottom Line
A Cutler Bay bathroom needs a schedule, not a spot-clean when something looks wrong. Price the work: routine maintenance is a few dollars in cleaners and a tube of silicone, a failed shower waterproofing runs into the thousands. Treat caulk, grout, drains, valves, and the exhaust fan on a monthly, quarterly, and annual rhythm, and run the yearly inspection with a flashlight and a notepad. Then call when you find something behind the tile. If you’re due for a renovation, or you’ve found a maintenance item that has turned into a defect, Bradford Remodeling Co Cutler Bay gives you a written price before work starts and the 365-Day Done Right Promise – if the work fails within the year, we come back and correct it at no charge. Call (833) 620-5491 for a free estimate.
Written by the team at Bradford Remodeling Co Cutler Bay.