Last updated November 18, 2026








Free written scope consultation - allowances, timeline, and change-order rules on paper before a single trade is scheduled
Bathroom Remodeling Troubleshooting: Common Problems and How to Fix Them
Grout cracking at the floor-to-wall joint within a year of installation isn’t a maintenance issue. It’s a substrate deflection problem that should have been addressed during the remodel, and it’s one of the most commonly misdiagnosed bathroom failures we see in Cutler Bay. Homeowners get told to “just re-caulk it,” and six months later they’re re-caulkings again. The real defect was never the caulk. Understanding why a bathroom fails tells you who is responsible for fixing it, what a workmanship guarantee should actually cover, and how to make a warranty claim that holds up. This guide walks through the five most common post-remodel failures in South Florida bathrooms, how to diagnose a leak without demolition, and the documentation steps to take when you suspect a defect.
Quick Answer
Most bathroom remodeling problems that surface six to twelve months after completion are installation failures, not wear-and-tear, and they trace back to five causes: waterproofing membrane gaps, insufficient exhaust ventilation, the wrong grout type in wet zones, missing caulk joints at plane changes, and unsealed natural stone. Diagnosing which failure you have determines whether it’s a homeowner maintenance fix or a contractor warranty call. The difference matters because one costs you money and the other shouldn’t.
Styles & brands we work with
- Kitchen remodeling
- Bathroom remodeling
- Home additions & ADU
- Roofing
- Windows & doors
- Driveway & pavers
- Fence
Table of Contents
- Maintenance Failures vs. Installation Failures: How to Tell the Difference
- The Five Most Common Post-Remodel Bathroom Failures in South Florida
- Why Grout Cracks at the Floor-to-Wall Joint (And Why Re-Caulking Doesn’t Fix It)
- How to Diagnose a Bathroom Leak Source Without Tearing Out Tile
- What a Written Workmanship Guarantee Should Cover (vs. “Satisfaction Guaranteed”)
- Documentation Steps When You Suspect a Defect
- Exhaust Ventilation Failures in South Florida Humidity
- Common Mistakes to Avoid
- When to Call a Professional
- Frequently Asked Questions
Maintenance Failures vs. Installation Failures: How to Tell the Difference
The single most useful skill in bathroom troubleshooting is telling these two categories apart. Get it wrong in either direction and you either pay for something your contractor should have fixed or you burn a warranty relationship chasing normal upkeep.
Maintenance failures are caused by the homeowner’s use, cleaning, or neglect after the job closes. Examples:
- Discoloration of grout from acidic cleaners that eat portland cement
- Mold forming in the caulk at the tub rim because the joint was never cleaned and re-sealed
- Etching on marble or travertine from a citrus-based shower spray
- A dripping shower cartridge that reaches end of life after years of use
Installation failures are caused by how the work was done and appear on a predictable timeline, usually within the first 18 months. Examples:
- Water staining on the ceiling below the bathroom, from a waterproofing gap
- Grout cracking along a straight line at a plane change or where two substrates meet
- Loose tile with a hollow sound when tapped, from thin-set that wasn’t properly bonded
- Peeling paint on the bathroom ceiling from excess moisture, not excess showering
In our experience, the tell is pattern. Maintenance failures look random and progress slowly; installation failures show up in lines, curves, and repeating shapes that trace back to how the substrate was built. If you see a crack running straight down the corner where two walls meet, that’s not cleaning damage. That’s a movement joint that was never installed or was grouted instead of caulked.
For homeowners in Cutler Bay, the humidity makes this distinction even sharper. A bathroom that exhausts properly here holds up far better than the same bathroom in a drier climate, and a job that skipped the exhaust provisions the building code requires will start showing moisture damage within a single summer. If you’re still in the planning stage, the Bathroom Remodeling in Cutler Bay page covers what a properly specified bathroom includes before anyone picks a tile.
The Five Most Common Post-Remodel Bathroom Failures in South Florida
These five account for the bulk of the warranty calls we handle in Cutler Bay and the surrounding neighborhoods. Each one has a signature you can recognize before any demo starts.
1. Waterproofing Membrane Gaps
Waterproofing in a wet area is a continuous barrier, and the barrier fails where two panels meet. Gaps show up most often at inside corners, at the transition from floor to wall, around the shower valve, and at the shower bench. In South Florida, a membrane gap behind tile in a shower pan can send water into the framing or the ceiling below long before it’s visible at the surface. The diagnostic: a small water stain on the ceiling beneath the bathroom, or efflorescence (white chalky residue) growing at the base of the tile.
2. Insufficient Exhaust Ventilation
A bathroom fan that’s too small for the cubic footage, vented into the attic instead of outside, or simply never connected will leave the room holding moisture after every shower. Check for peeling paint, recurring ceiling mold, or a window that always fogs on the inside. Broward and Miami-Dade humidity gives no wiggle room here.
3. Wrong Grout Type in Wet Zones
Cementitious grout is fine in a dry area. In a shower, it needs sealing and re-sealing. In modern specs, an epoxy grout or a sealed grout in a wet zone is the safer call. The tell is grout that crumbles or washes out of joints within a couple of years while the tile stays put.
4. Caulk Joint Omission at Plane Changes
Any place two planes of the bathroom meet – the corner where two walls meet, the seam between wall tile and floor tile, the joint at a tub deck – needs a flexible sealant, not grout. Grout has no give. When the substrate moves a fraction of a millimeter, grout cracks. The tell is a hairline crack running perfectly straight along a corner or seam.
5. Unsealed Natural Stone
Marble, travertine, and limestone are porous. If they were installed without a penetrating sealer, they stain, etch, and absorb water. In a Cutler Bay bathroom, the combination of humidity and daily showers will show unsealed stone problems within months. The tell is dark water spots that don’t dry out or a rough, dull surface where the finish should be smooth.
If your project isn’t finished yet and you want to head these off at the source, our General Contractor in Cutler Bay service covers the waterproofing, ventilation, and finish specifications that prevent all five.
Why Grout Cracks at the Floor-to-Wall Joint (And Why Re-Caulking Doesn’t Fix It)
Here’s the misdiagnosis we see most often. The grout cracks along the floor-to-wall line in a tiled shower. The homeowner (or a handyman) cuts out the failing material, applies a bead of caulk, and it holds for a few months. Then it fails again. The cycle repeats every six months and nobody thinks to ask what’s really happening.
The crack isn’t a caulk problem. It’s a deflection problem. The tile is sitting on two different substrates – a floor that flexes slightly when you walk on it and a wall that doesn’t move. At the joint between them, tiny movements pull at the grout. Grout has almost no flexibility, so it cracks. Caulk has more, but only so much, and if the substrate is still deflecting, even a good elastomeric caulk joint will fail eventually.
The fix depends on how bad the deflection is:
- Check the subfloor deflection first. If the floor feels springy near the crack, the joist structure under it is undersized or was not properly blocked, and no amount of caulk will solve that.
- Look for a missing movement joint. The industry standard calls for a flexible joint at any change of plane. If grout was run across the floor-to-wall line, that’s the defect.
- Confirm the membrane. If the crack has ever shown water behind it, the waterproofing may also be compromised, and the fix is bigger than cosmetics.
- Repair with a proper sealant joint only if the substrate is sound. A correctly installed joint at a plane change will hold for years. A joint over a moving substrate will not.
This is the exact reason a written workmanship guarantee should specify what was built and how. When the standard is written into the job scope, the caulk-versus-crack question has an answer that doesn’t depend on anyone’s memory.
How to Diagnose a Bathroom Leak Source Without Tearing Out Tile
Water showing up in the wrong place is the scariest bathroom call a homeowner makes, and the first instinct is often “the whole shower is ruined.” Most of the time the leak traces back to one of three places, and you can narrow it down before anyone touches a tile saw.
Step 1: Isolate the fixture. Turn the shower on and let it run for 10 minutes with the drain plugged and the water level below the overflow. If water appears immediately under the bathroom, the supply line or the valve is the likely source. If it only appears when the drain is running freely, it’s a drain or pan issue.
Step 2: Test the supply side. Shut off the water at the angle stops under the sink and at the shower valve, then check the meter at the street. If it still moves with every fixture off, the leak is on a pressurized line – usually at the valve body, a supply fitting, or the toilet fill valve. This is a plumber or handyman call, not a tile call.
Step 3: Test the drain and pan. Plug the drain, fill the shower pan with a couple of inches of water, and mark the level. Come back in an hour. A dropping level on a properly built shower pan means the pan or the membrane is compromised. If it holds but water still reaches the ceiling below when the shower runs, the leak is more likely at the wall/floor transition or the drain flange.
Step 4: Check the walls. Look for loose tile, hollow-sounding sections, or efflorescence at the base of the shower wall. Any of those plus a leak below is a strong indicator that the waterproofing has failed behind the tile.
Only at Step 4 do you consider demo. If you’ve isolated it to a fixture, a valve, or a clogged drain line, no tile removal is needed. In Cutler Bay, the humidity means slow leaks below tile rarely announce themselves as puddles – they present as mold or a warped baseboard first. If you’re seeing that pattern, the Bradford Remodeling Co Cutler Bay home overview of how we scope a diagnosis is a good starting reference.
What a Written Workmanship Guarantee Should Cover (vs. “Satisfaction Guaranteed”)
“Satisfaction guaranteed” is a marketing phrase. It has no defined scope, no timeline, and no enforceable remedy. It’s also often paired with a contractor who, when called back a year later, says the problem is “wear and tear” or the homeowner’s fault. That’s not a warranty. That’s a slogan.
A written workmanship guarantee, by contrast, names specific things:
- Which work it covers. Waterproofing, tile setting, grout, framing, drywall, plumbing rough-in, and finish install should all be named individually if they’re covered. “Workmanship” alone is too vague.
- The guarantee period. Tell the homeowner exactly how long. It should be a real number, not a hand-wave.
- What triggers a call-back. Define what a failure looks like. A leaking shower pan, a grout joint that fails at a plane change, a fixture that was installed with the wrong fitting, and a tile that debonds under normal use are all workmanship failures. A cartridge reaching the end of its manufacturer-rated life is not.
- Who pays. The guarantee should say plainly that corrective labor and materials for a covered failure are on the contractor, not the homeowner.
- Exclusions. What voids the guarantee? Tear-out by another party, neglect, acid-based cleaning, or a homeowner-driven change of scope all typically void or narrow the coverage, and the writing should say so up front.
Bradford Remodeling Co Cutler Bay backs every completed project with the 365-Day Done Right Promise. If the work fails within that full year – a waterproofing gap, a workmanship-level grout failure, a fixture installed incorrectly – we return and correct it at no charge. It’s in writing before any tool comes out, and it’s the standard against which every completion walkthrough is held. The Garrison Standard is the framework behind that guarantee, and the Kitchen Remodeling in Cutler Bay page shows how the same standard applies to a kitchen scope.
Documentation Steps When You Suspect a Defect
A warranty claim succeeds or fails on documentation. Here’s the sequence we recommend, and it’s the same sequence we follow when a call comes in.
- Photograph everything, dated. Wide shots of the full bathroom, close-ups of the suspected failure, and any water damage on the adjacent ceiling, floor, or wall. Include a tape measure in the frame on at least one photo so scale is clear. Date the photos – most phones do this automatically, but confirm it.
- Re-test before you call. If it’s a leak, run the isolation steps above and write down what you saw. A contractor can respond far faster if you can say “the pan water level drops two inches in an hour” than if you say “I think there’s a leak.”
- Write it down in plain language. Keep a simple log: date the problem was first noticed, what you were doing when you noticed it, what you’ve already tried, and what you expect to happen. Keep it factual and short.
- Send written notice. Email or text the contractor with the photos and the log. A phone call is fine for the first contact, but follow it with a written message that includes the date, the issue, and a request for a site visit. This creates a paper trail that reaches back to the correct warranty window.
- Expect a site visit within a reasonable window. In our experience, a good contractor will schedule a diagnostic visit within a few business days and will not charge for a warranty-related inspection. If a contractor won’t schedule a visit at all, that’s your answer on whether the guarantee is real.
- Get the fix scoped and confirmed in writing. Before demo starts, get a written description of what will be done and confirmation that it’s a warranty repair with no charge.
Bradford Remodeling Co Cutler Bay has a live person answering the phone around the clock, so a defect call gets a human on the first ring, not a voicemail. That’s part of the standard, not a perk.
Exhaust Ventilation Failures in South Florida Humidity
South Florida is a punishing environment for bathrooms. The relative humidity here averages well above 70 percent for much of the year, and a bathroom that runs a shower twice a day without adequate exhaust will stay wet long after the last drop falls. That moisture doesn’t just disappear – it condenses on cool surfaces, soaks into the ceiling and painted walls, and starts growing mold within a season.
Three failures account for most of the problems:
- Undersized fan. The standard is a fan rated for at least 50 cubic feet per minute (CFM) for a typical bathroom, and more for a larger or double-shower bath. A cheap fan rated for 70 CFM but ducted through 20 feet of flex pipe is effectively weaker than its rating.
- Ducted into the attic. The fan moves the air, but the air goes into the attic instead of outside. That’s a code violation in most jurisdictions and it will mold the attic within a few years. This is one of the most common shortcuts we find when we open a bathroom for a remodel.
- No timer or humidity switch. A fan that gets flipped off the second the shower stops isn’t doing its job. The code standard calls for the fan to run long enough after the shower to clear the moisture, and a 20-minute timer or a humidity sensor switch handles that automatically.
If you notice mold recurring on the bathroom ceiling, paint that peels above the shower, or condensation on the walls after every shower, the fan is the first thing to check, not the paint. If you’re looking at a full bathroom project in Cutler Bay and want the ventilation built in from the start, our Bathroom Remodeling in Cutler Bay page covers the exhaust spec we hold every job to. Get a free estimate and we’ll walk the existing fan and ducting before any decisions get made.
One safety note on the electrical side: if you’re considering replacing the fan or adding a humidity switch, the wiring at the switch box and the ceiling cut-in is not a do-it-yourself job. Have a licensed electrician make the connection and verify it’s on the right circuit. We always do.
Common Mistakes to Avoid
- Skipping the substrate inspection before tile goes down. Every grout crack we see at a plane change traces back to a floor that deflects or a joint that wasn’t built to move. Have the floor checked before tile is set, not after the crack shows up.
- Grouting a corner that should be caulked. Grout has essentially no give; a flexible sealant at every change of plane is the right call and it’s spelled out in most manufacturers’ instructions. Grouting corners is a shortcut that fails, predictably.
- Venting the bathroom fan into the attic. It’s a common shortcut and a code violation. Confirm the duct terminates outside the roof or wall before the ceiling gets closed up.
- Leaving natural stone unsealed for the first month. Cutler Bay’s humidity plus a daily shower will stain and etch unsealed marble or travertine fast. The sealer goes on before first use, and gets refreshed on the schedule the sealer manufacturer specifies.
- Chasing a “satisfaction guarantee” pitch instead of a written warranty. If the contractor can’t show you the guarantee document before signing, treat the promise as a marketing line and ask for the written scope and term.
- Skipping the completion walkthrough documentation. Photograph the finished job, get the written guarantee in your hand, and confirm the scope was signed off. “Squared away” means a clean site, a signed document, and no loose ends – not a handshake at the door.
When to Call a Professional
Some of these are homeowner-level checks and some are not. Call a professional when you see any of the following: water reaching the ceiling or floor below the bathroom, efflorescence growing at the base of the shower wall, recurring mold on the bathroom ceiling despite running the fan, loose or hollow-sounding tile, a shower pan that won’t hold water, or a grout crack that’s come back after a proper sealant repair. Those indicate substrate or waterproofing defects that a cosmetic fix won’t cure. Do not attempt to remove tile, cut into a waterproofing membrane, or open an electrical box to trace a fan wiring issue – each of those is a trained-professional scope, and getting it wrong can turn a warranty repair into a much bigger job.
Bradford Remodeling Co Cutler Bay offers free estimates in Cutler Bay. Call (833) 620-5491 to schedule yours and put a real number and a written guarantee around the diagnosis before anyone picks up a tool.
Frequently Asked Questions
A diagnostic visit to trace the leak is typically free as part of a warranty claim, and the repair cost depends entirely on where the leak is. A fixture-level leak (valve cartridge, supply fitting, drain gasket) is usually a modest repair and doesn’t require tile removal. A failed shower pan or waterproofing gap behind tile is a larger scope because it requires the affected tile to come out and the membrane to be rebuilt and re-waterproofed. Call (833) 620-5491 for a written scope and price before any work starts – no numbers that move at the door.
Because the crack is a movement problem, not a grout problem. Every plane change – a corner where two walls meet, the joint between floor and wall, the seam at a tub deck – needs a flexible sealant, not grout, because the two surfaces move differently. If grout was run across a joint that should have been caulked, the crack will come back on the same schedule until the joint is corrected. If the floor underneath also deflects, the joint repair alone won’t last.
A well-built bathroom should hold its waterproofing, tile, and ventilation for decades, with normal maintenance along the way (re-sealing grout, refreshing caulk joints periodically). If a defect shows up inside the first year or two, it’s almost always an installation issue rather than a wear issue, and the right move is to pursue it under the workmanship guarantee.
At minimum, it should name the specific work it covers (waterproofing, tile setting, grout, plumbing rough-in, finish install), state the guarantee period as a real number, define what triggers a covered repair, and say who pays. Bradford Remodeling Co Cutler Bay backs every completed project with the 365-Day Done Right Promise, which covers the full year after completion and includes a free return visit if the covered work fails.
Yes, in most cases. Projects that add or move plumbing fixtures, move electrical, install a new shower pan, or alter the walls or structure generally require a permit and a final inspection. Bradford Remodeling Co Cutler Bay pulls the permits and passes the inspections as part of the standard scope; if a contractor tells you a permit isn’t needed for a shower rebuild, that’s a red flag worth asking about before signing.
No. Bradford Remodeling Co Cutler Bay gives every homeowner a written price before any work begins, and it doesn’t move at the door. If a defect is found mid-project, the written scope gets amended and signed off before the work proceeds, never after. Call (833) 620-5491 for a free estimate and a written price on the exact scope.
The Bottom Line
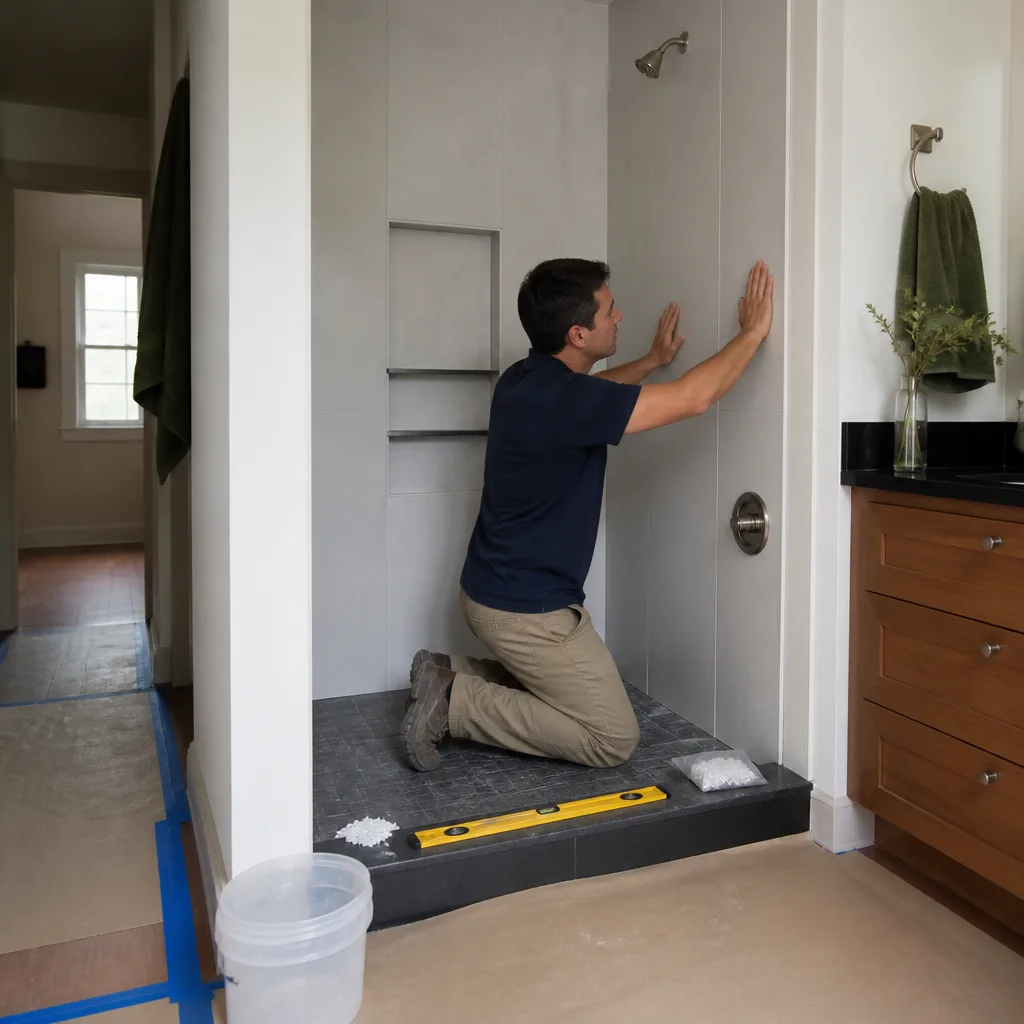
Most bathroom failures in Cutler Bay trace back to how the job was built, not how it was used. If your grout cracks at a plane change, your grout is the symptom and a movement joint is the cause. If your ceiling is molding, your exhaust is the problem, not your shower. If water reaches the ceiling below, isolate the fixture, the supply line, and the pan before you let anyone demo tile. And if you’re pursuing a warranty claim, document it in writing and expect a free diagnostic visit from a contractor who means what they say. The standard you should hold any remodel to is the one that’s written down: a written price before work starts, a signed workmanship guarantee with a real period and a real remedy, and a crew that shows up background-checked, in uniform, and answers the phone with a real person.
Call Bradford Remodeling Co Cutler Bay at (833) 620-5491 for a free estimate. Every price is written before work starts, every completed project carries the 365-Day Done Right Promise, and every call is answered by a live person.
Written by the team at Bradford Remodeling Co Cutler Bay.
See the difference
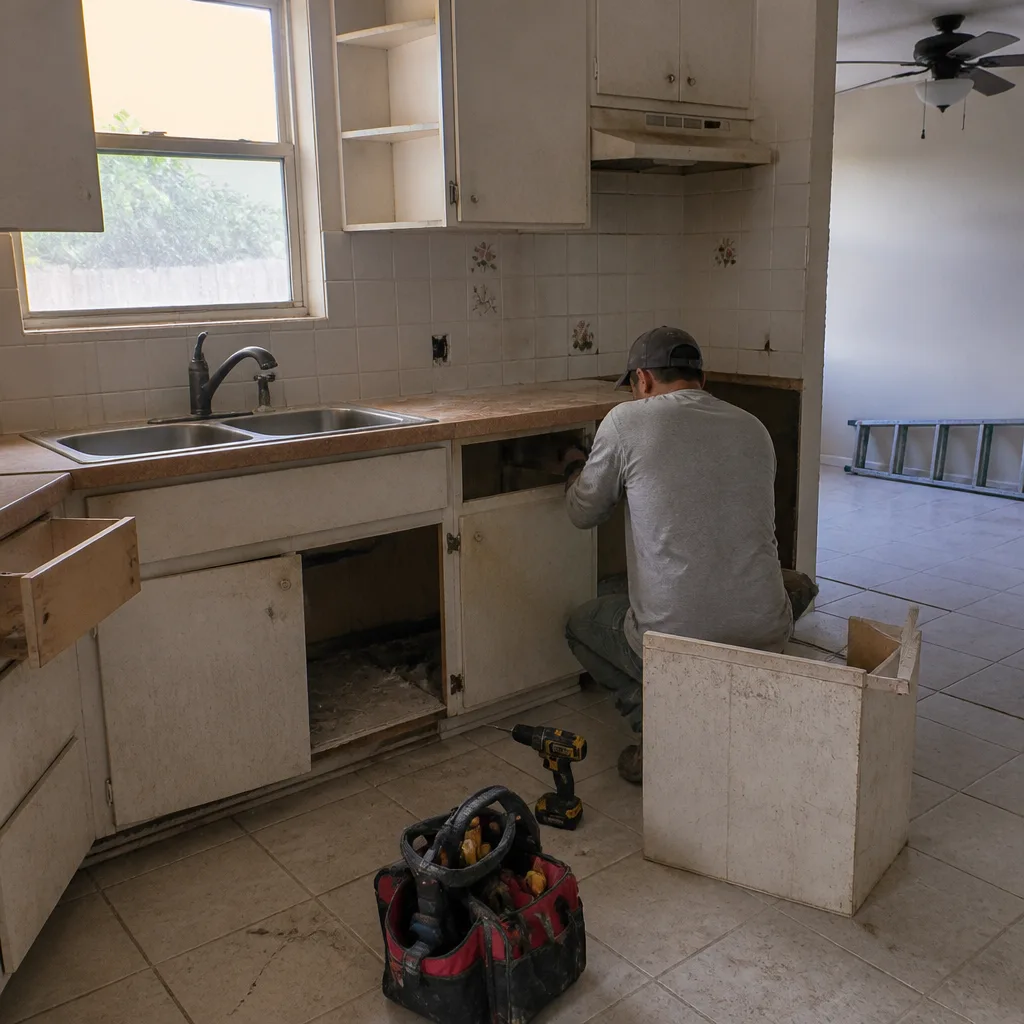 Before
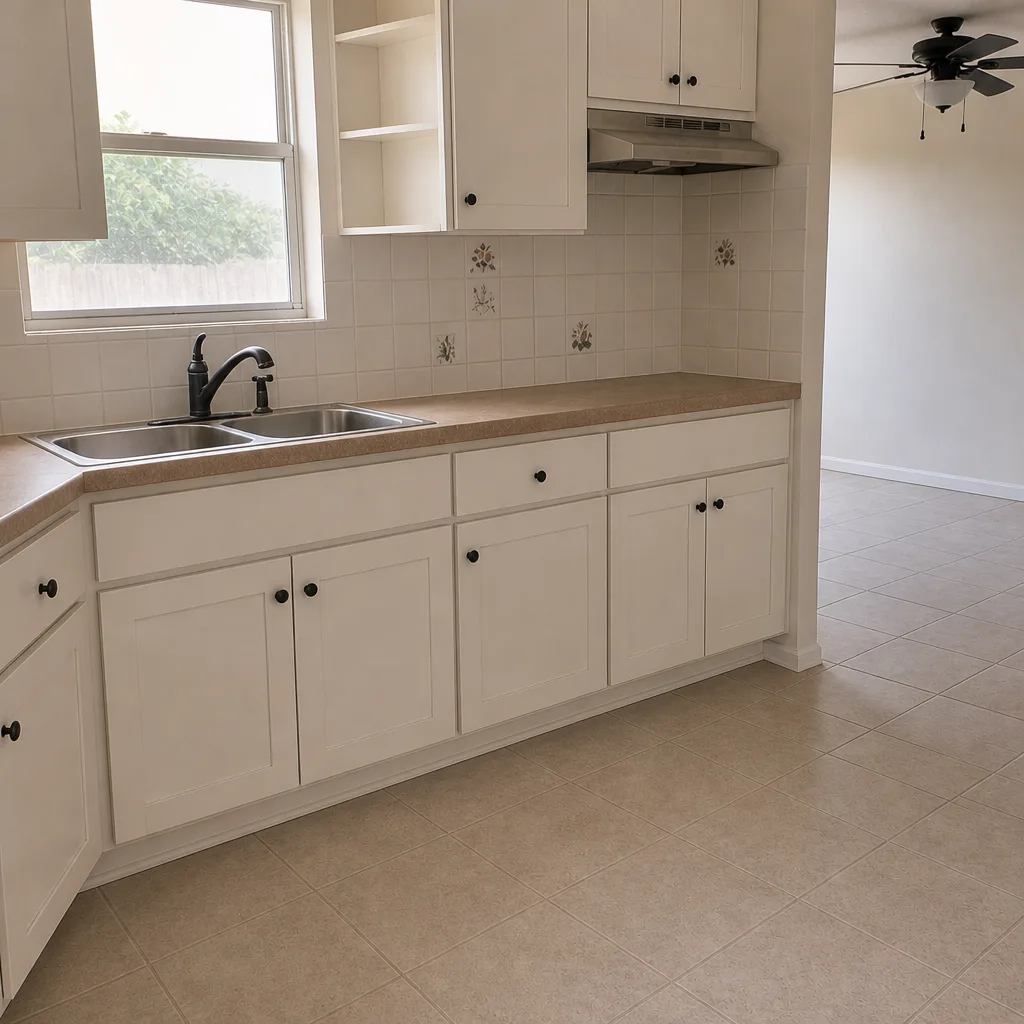 After
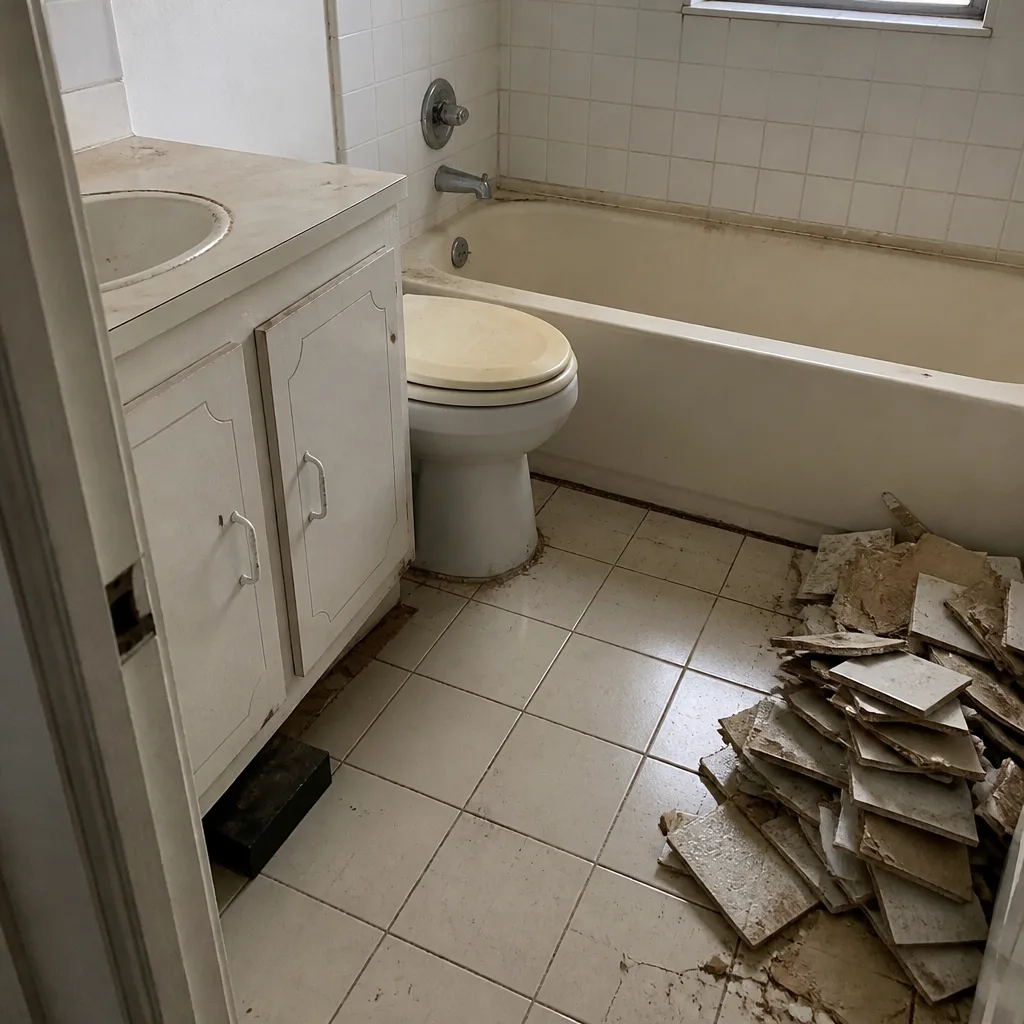 Before
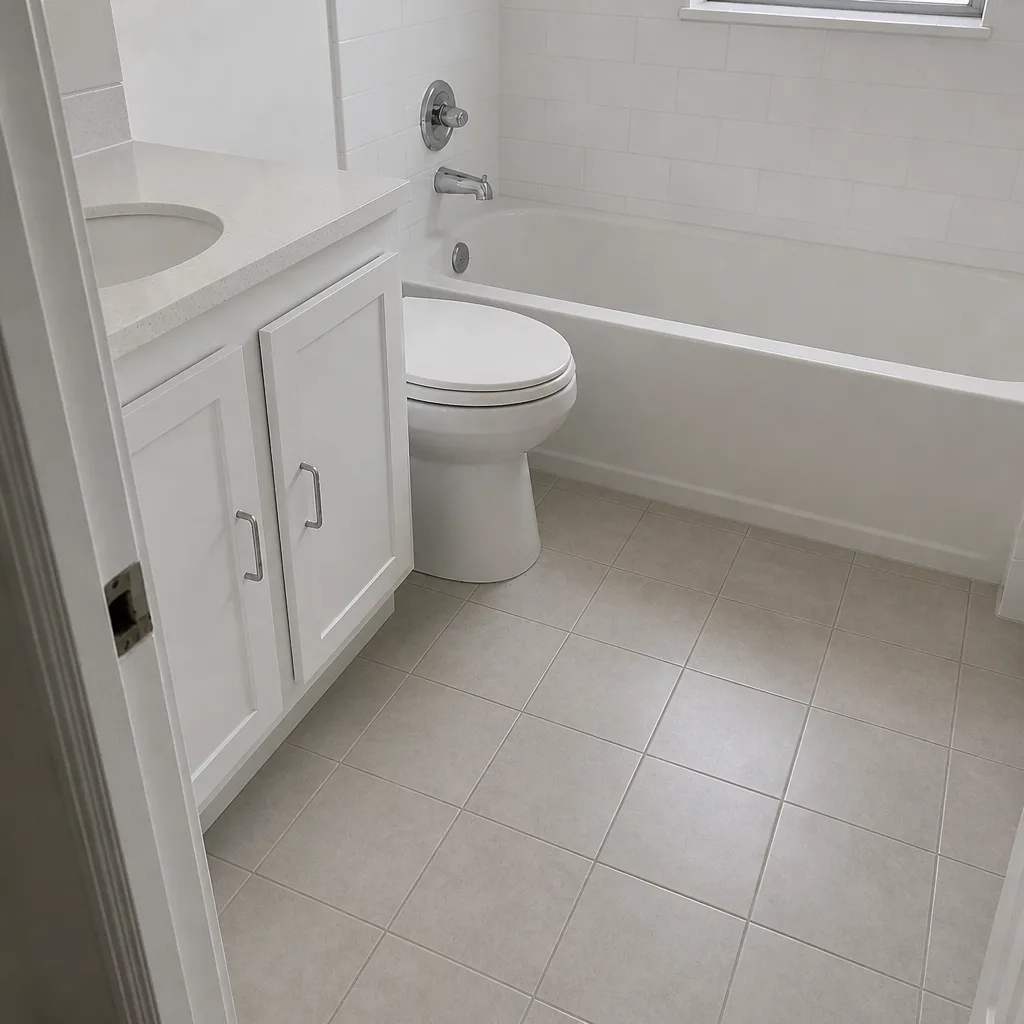 After
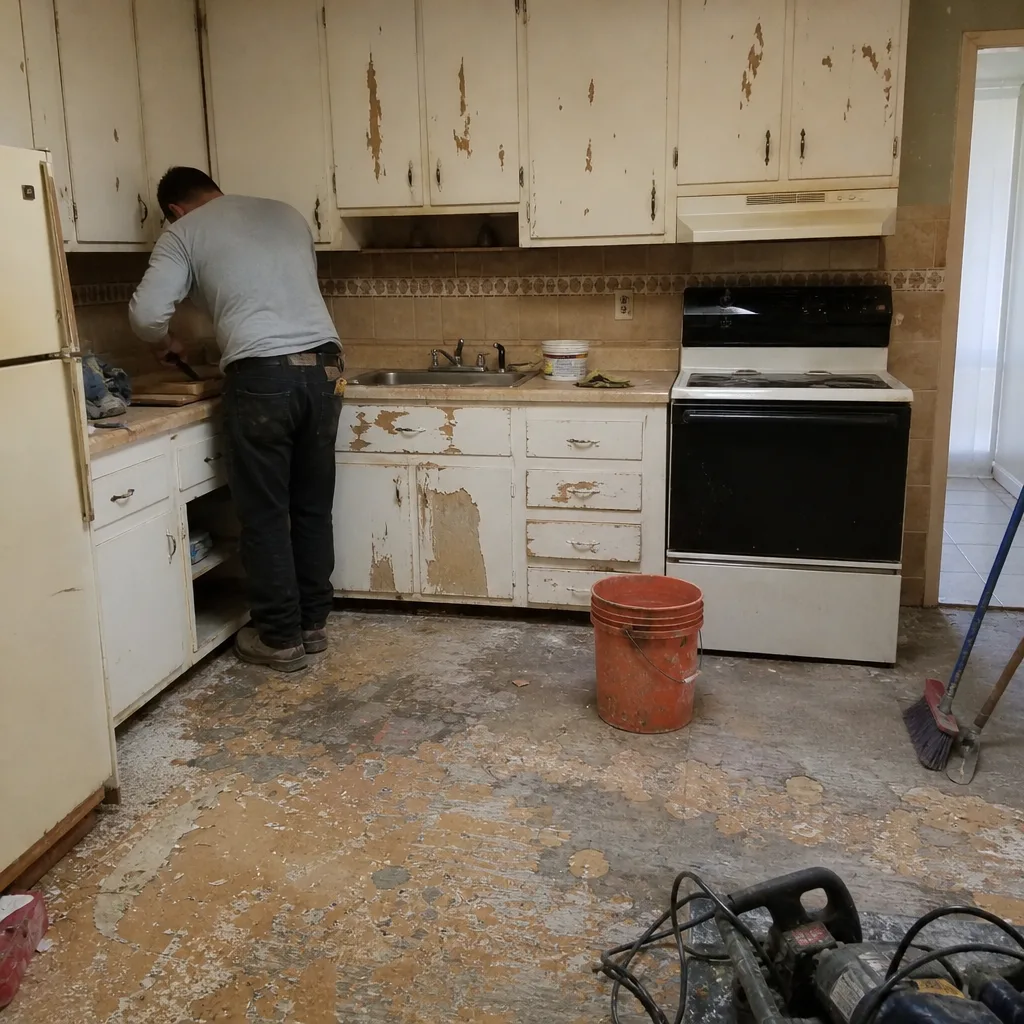 Before
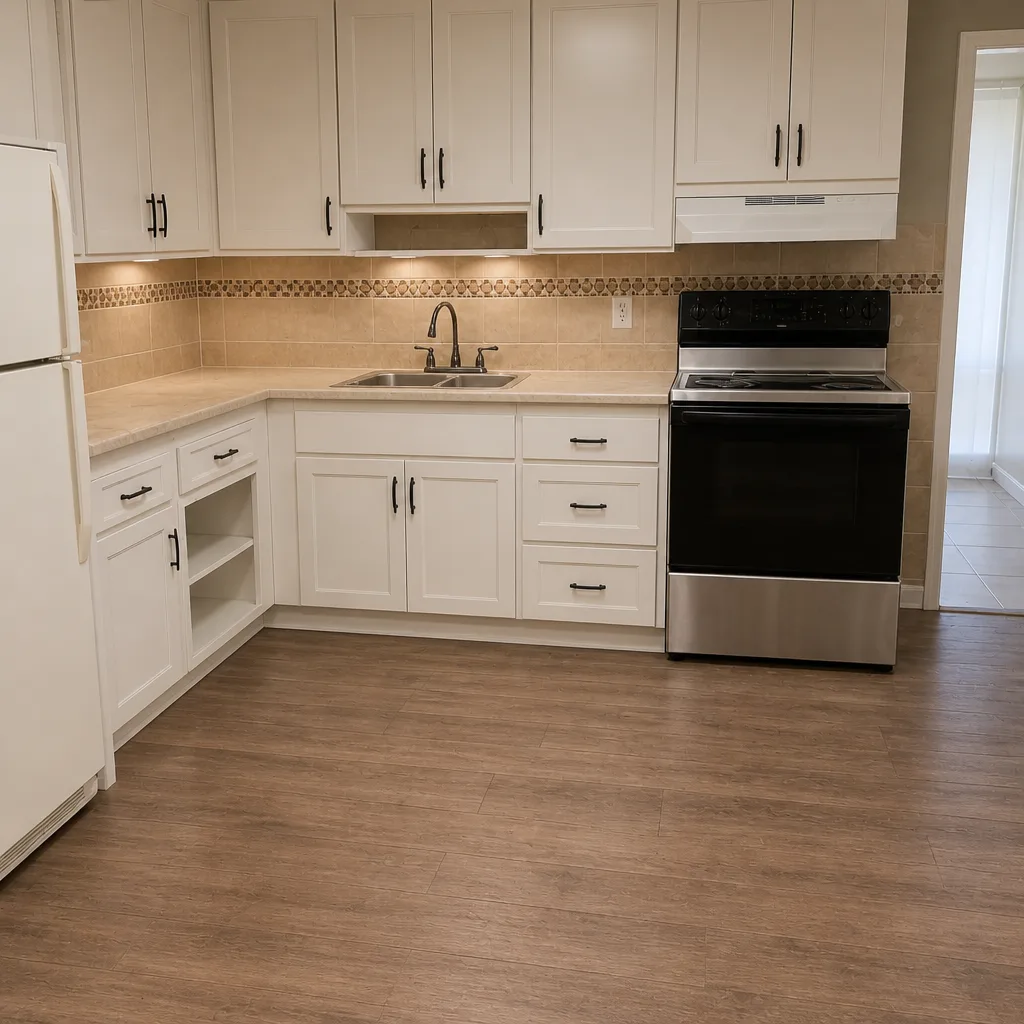 After