Last updated November 18, 2026
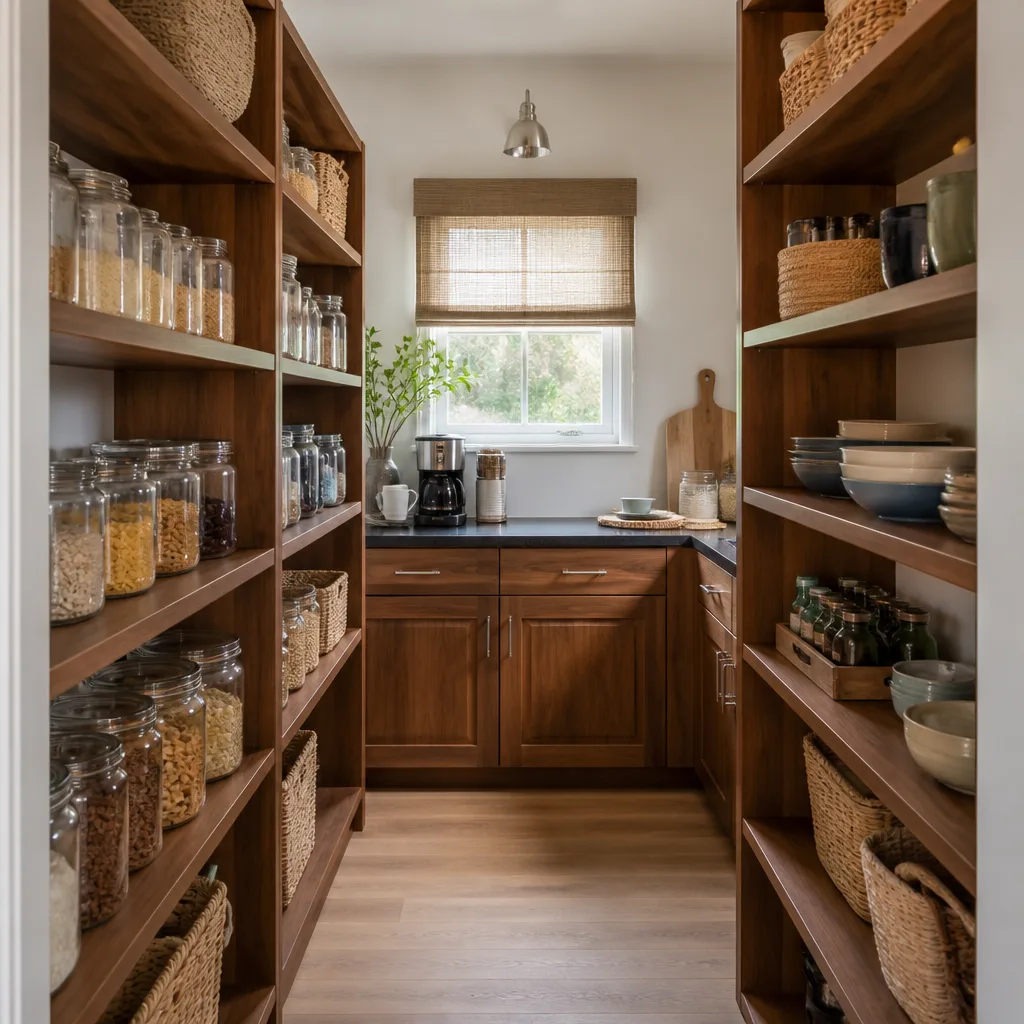





Free written scope consultation - allowances, timeline, and change-order rules on paper before a single trade is scheduled
Kitchen Remodeling Troubleshooting: Common Problems and How to Fix Them
The most common kitchen remodel callback we see isn’t a cracked tile or a crooked backsplash. It’s cabinet shimming. A run of cabinets gets shimmed to look square, the toe-kick and crown molding go on, and everything passes the eye test on final walkthrough. Six months later, the doors start racking and the drawers rub. That failure was set at rough installation and hidden by trim. This guide walks through the four failure points where kitchen remodels actually break down, how to spot each one early, what it costs to fix at every stage, and who is responsible. If you’re remodeling in Cutler Bay, the humidity and concrete block construction add their own wrinkles, and we’ll cover those too.
Quick Answer
Kitchen remodel problems cluster around four failure points: rough-in plumbing that wasn’t pressure-tested before drywall closed, cabinet installations that look square but aren’t level, countertop overhangs that exceed the stone’s substrate tolerance, and ventilation that doesn’t meet code. Each has a specific diagnostic test and a specific responsible party. Catching any of them before the next trade covers the work costs a fraction of correcting it afterward. The single most expensive mistake is templating countertops on an unlevel cabinet run.
Styles & brands we work with
- Kitchen remodeling
- Bathroom remodeling
- Home additions & ADU
- Roofing
- Windows & doors
- Driveway & pavers
- Fence
Table of Contents
- How to Identify an Unlevel Cabinet Run Before Countertops Are Templated
- Failed Rough-In Plumbing: The Problem You Can’t See Until It’s Too Late
- Countertop Overhang Limits by Material and What Happens When They’re Exceeded
- Range Hood Ventilation That Fails Code and Fails in Florida Humidity
- Diagnosing a Kitchen Drain That Runs Slow After Remodel
- How to Document and Submit a Warranty Claim for Kitchen Defects
- How to Vet a Kitchen Remodeler Before You Sign
How to Identify an Unlevel Cabinet Run Before Countertops Are Templated
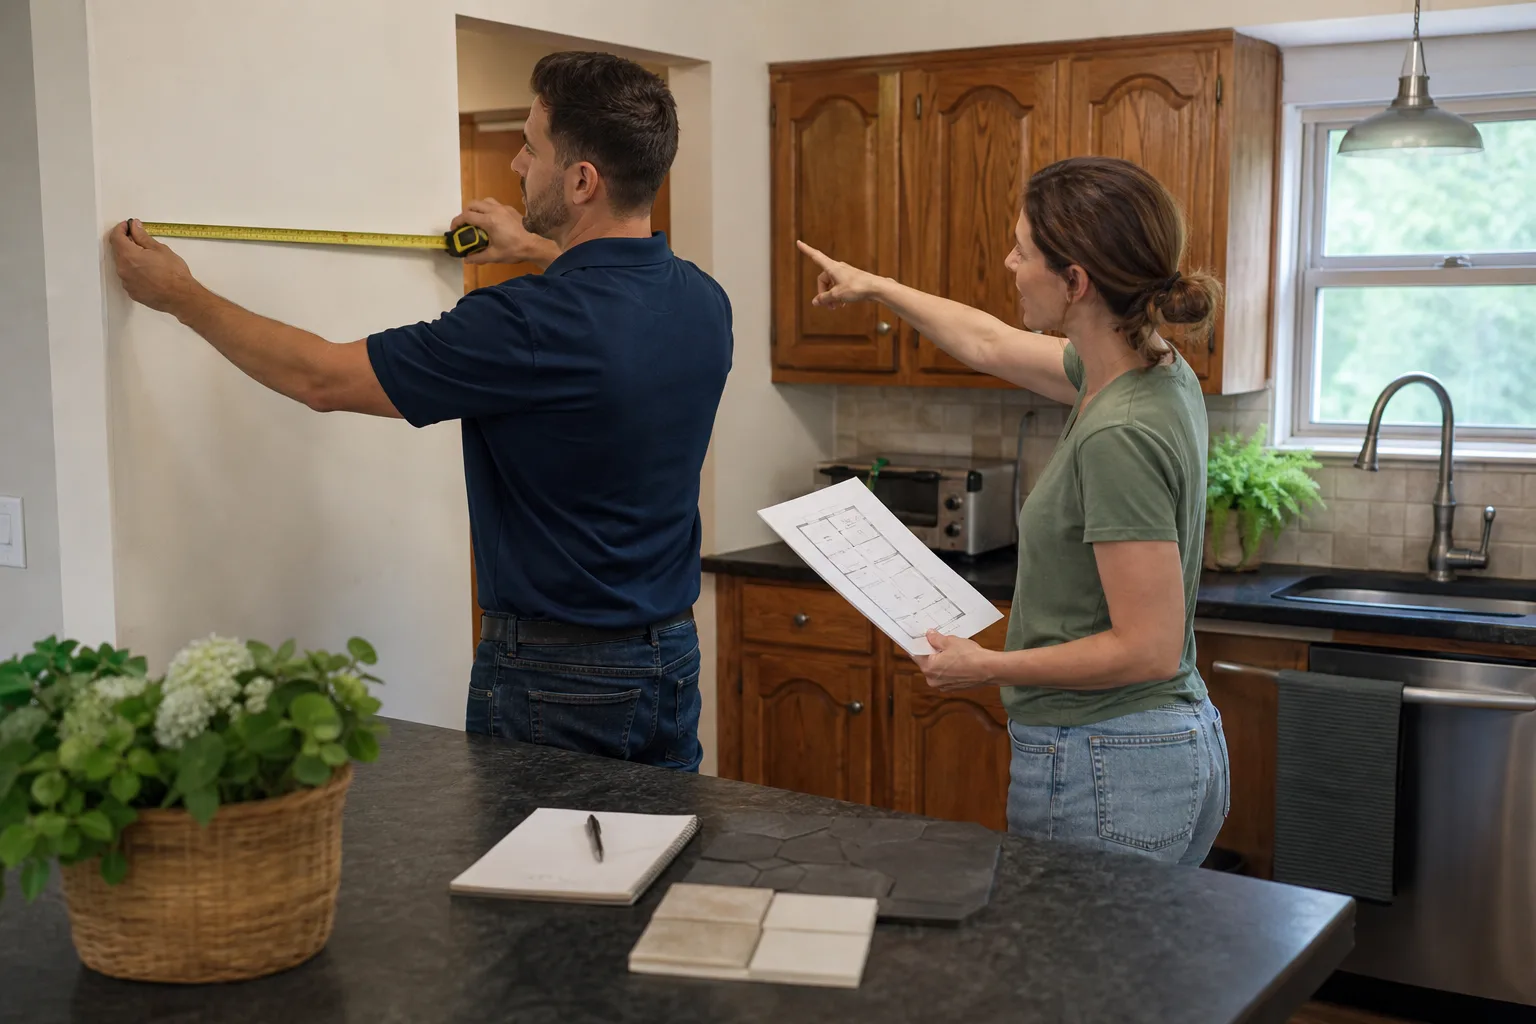
An out-of-level cabinet run is the most expensive problem to find late. By the time countertops are templated, the cabinets are set, the plumbing is stubbed, and correcting the base means pulling cabinets, re-shimming, and re-templating. The test itself is simple and any homeowner can run it before the countertop fabricator shows up.
Place a 4-foot level along the front edge of the cabinet run at the stile faces, then along the top of the cabinet boxes in both directions. Then check the diagonals of each cabinet face for square. A run can read level on the front edge and still be twisted front-to-back. On a Florida concrete block home, the slab and the block wall are rarely perfectly true, so the shim stack on the back edge often runs deeper than the front. That’s where the twist comes from.
What a correction costs at each stage:
- At rough cabinet installation: a few hours of re-shimming and re-anchoring. Minimal cost, covered by the installer’s scope.
- After countertops are templated but before fabrication: re-templating and a schedule slip. The fabricator bills for the second visit.
- After countertops are installed: pulling the stone, re-shimming, re-fabricating if the slab was cut to the wrong plane. This is the worst case and it is not cheap. On a typical Cutler Bay kitchen, that correction alone can run into the thousands before you touch anything else.
If you’re planning the project from scratch, start with our Kitchen Remodeling in Cutler Bay page for scope and sequencing, then read on for the diagnostics.
Failed Rough-In Plumbing: The Problem You Can’t See Until It’s Too Late
Rough-in plumbing is the pipe work that goes inside the wall and under the floor before drywall and cabinets close it up. If it isn’t pressure-tested before the drywall goes on, you’ll find out about a leak the way everyone does – through the floor or the ceiling below. The inspection step is not optional, and it’s not something a homeowner should skip because the schedule is tight.
- Pressure-test the supply lines. The rough-in is capped and pressurized, typically to a level specified by the local code and held for a set period. If the gauge drops, there’s a leak. No exceptions.
- Fill-test the drain lines. The drain rough-in is filled with water and checked for standing leaks at every joint.
- Photograph everything before drywall. Every stud bay with pipe, every joint, every shutoff. You’ll want that reference when something goes wrong later, and a warranty claim goes faster with the pictures on file.
- Get the inspection signed off. In most Florida jurisdictions, the rough-in plumbing inspection is a required hold point before the wall can close. Skipping it is a code violation and a liability the homeowner inherits.
In Cutler Bay, the humidity matters here even before the water turns on. Copper and galvanized fittings that sit exposed during a rainy stretch can sweat and corrode at the joint. If your remodel stalls for weeks between rough-in and close-up, ask the plumber to re-check the joints before the drywall goes on. A failed pressure test is cheap to fix at that stage. A pinhole leak behind finished drywall is not.
Countertop Overhang Limits by Material and What Happens When They’re Exceeded
Countertop overhang is how far the stone extends past the cabinet box. The limits are set by the material’s substrate strength and the fabricator’s tolerance, and exceeding them causes cracking, sagging, or a snapped edge. On a Florida concrete block home the cabinets are usually anchored to block rather than studs, so the substrate behind the overhang is unforgiving – there’s no give to absorb stress.
Typical overhang limits you’ll see on written specifications:
- Granite: roughly 1 to 1.5 inches unsupported past the cabinet box. Beyond that, corbels or a hidden steel support are required. Granite is heavy and a deep unsupported span will crack at the seam.
- Quartz (including Cambria and Caesarstone): similar range, often 1 to 1.5 inches unsupported; overhangs of 6 to 12 inches need visible brackets or a steel sub-top. Engineered quartz doesn’t have the natural veining that hides a stress crack the way granite does, so the failure shows.
- Butcher block: can go wider because wood flexes, but it needs support at the ends or it cups.
Specify the overhang and the support on the fabrication drawing before the slab is cut. If you see a deep overhang on the drawing with no bracket or steel sub-top called out, ask the fabricator to add it. That’s a cheap line on a quote. The correction after the fact means pulling the stone.
Range Hood Ventilation That Fails Code and Fails in Florida Humidity
A range hood duct that looks connected at installation can fail after one South Florida summer. The failure mode is specific: the duct tape or mastic at the roof or wall cap lifts in the heat, the duct slips off the hood collar, and grease-laden air now vents into the cabinet cavity instead of outside. The symptoms are distinct.
- Grease condensate patterns: a sticky film on the underside of the cabinet above the range, or dark streaks running down the cabinet face.
- Humidity staining: a faint brown or gray halo on the cabinet interior near the hood, especially on painted KraftMaid or Wellborn cabinetry where the finish shows moisture.
- Cabinet interior moisture: soft spots on the cabinet back panel, or swelling at the bottom edge. Cabinets aren’t built for a humid interior.
Under a standard warranty, the responsible party depends on what failed. If the duct connection was made wrong at installation, that’s the installer’s scope, and it should be covered. If the duct was correct and the roof cap cracked, that’s a cap replacement. If the hood’s make-up air wasn’t sized for the vent run, that’s a design problem. In Cutler Bay, code requires the hood to vent outside, and if the duct run passes through an unconditioned attic space, the attic heat accelerates the failure. Ask for the duct to be sealed with mastic rather than tape and secured with a mechanical clamp at every joint.
Diagnosing a Kitchen Drain That Runs Slow After Remodel
A kitchen sink that runs slow after a remodel is one of three problems. The fix depends on which one it is, and only one of them is a homeowner-level correction.
- Venting issue. After a remodel the sink can end up on a wet vent or a vent that’s too far from the trap. A slow drain that gurgles as it clears, or that smells like sewer gas, points here. The fix is a plumbing change, not a snaking.
- Slope issue. The drain line under the floor or in the wall needs a consistent fall to carry waste. If the rough-in was set flat or back-pitched, water sits and debris collects. Snaking clears it briefly; it comes back. This needs a licensed plumber.
- Trap issue. A P-trap that’s too deep, double-trapped, or installed with a shallow tailpiece can cause slow drainage. The visible trap under the sink is the one a homeowner can check – confirm it’s a single trap with a proper water seal, not two traps in series.
The venting and slope issues are the ones to call a licensed plumber for. They’re inside the wall or under the floor, and a wrong fix causes more damage than the slow drain. The visible trap is the only part of this a homeowner should touch. If the trap is correct and the drain is still slow, stop and call.
How to Document and Submit a Warranty Claim for Kitchen Defects
Florida’s contractor warranty statute gives homeowners recourse, but only if you’ve built a paper trail. The key is to document the defect in writing, with dates, photographs, and a specific request, before the calendar gets away from you.
- Photograph the defect with a scale. A tape measure or a coin in the frame establishes size. Photograph the wider context too, so the cause is visible.
- Note the date you first noticed it and the date of the original installation. Warranty windows run from project close, not from when you noticed the problem.
- Write a dated letter or email describing the defect, the requested correction, and a reasonable response deadline. Keep a copy. This is the document that makes the claim enforceable.
- Send it return-receipt or by a method you can prove. A phone call is not a paper trail.
- Keep the original written scope and guarantee. The remedies flow from what’s in writing.
This is where a written guarantee earns its keep. Bradford Remodeling’s 365-Day Done Right Promise is a written guarantee on every completed project: if the work fails inside that window, we come back and correct it at no charge. The scope is in the document from day one, which means a warranty claim starts from a known baseline rather than a verbal agreement. If you’re still in the planning stage, ask every remodeler you interview to show you their written guarantee and written scope before you sign. Our General Contractor in Cutler Bay page explains what goes in that document.
How to Vet a Kitchen Remodeler Before You Sign
The best way to avoid every problem in this guide is to check the remodeler before the work starts. In our experience, the failures cluster around contractors who won’t put scope and price in writing.
- Ask for a written price before work begins. Not a range, not an estimate to be finalized. A number that doesn’t move at the door.
- Ask for the written guarantee. How long is it, what does it cover, and who honors it if the contractor can’t?
- Ask who will be on site. Background-checked, uniformed technicians matter; you should know who’s in your home.
- Ask how the rough-in is inspected. A remodeler who can describe the pressure test and the inspection hold points has done this before.
- Ask for the material specifications in writing. Brand and model, not just “cabinet.”
The Garrison Standard is the framework Bradford operates under: every price and every guarantee in writing before a tool comes out. That’s the standard a homeowner should hold any contractor to, including us. The final walkthrough should end with a clean site, the documented scope signed, and the written guarantee in the homeowner’s hand. If you’re remodeling a bathroom at the same time, our Bathroom Remodeling in Cutler Bay page covers the plumbing and ventilation diagnostics that apply there.
Common Mistakes to Avoid
- Skipping the rough-in pressure test because the schedule is tight. A leak behind finished drywall is a gut job. Every day saved here is a week lost later.
- Templating countertops on a run that looks square but isn’t level. The eye reads square; the level reads truth. Check both directions and the diagonals.
- Exceeding the overhang limit with no support. A deep overhang with no corbel or steel sub-top is a crack waiting for the first heavy pot.
- Sealing the range hood duct with tape in a Cutler Bay attic. Attic heat lifts the tape. Mastic and mechanical clamps, every joint.
- Snaking a slow drain without diagnosing the cause. If it’s a vent or slope issue, snaking just postpones the return visit.
- Accepting a verbal warranty. Florida’s contractor warranty statute works off a paper trail. Get the guarantee in writing, with the scope and the window.
- Letting the job close without a final inspection punch list. Walk the site with the contractor at close, write down every punch item, and get a signed copy.
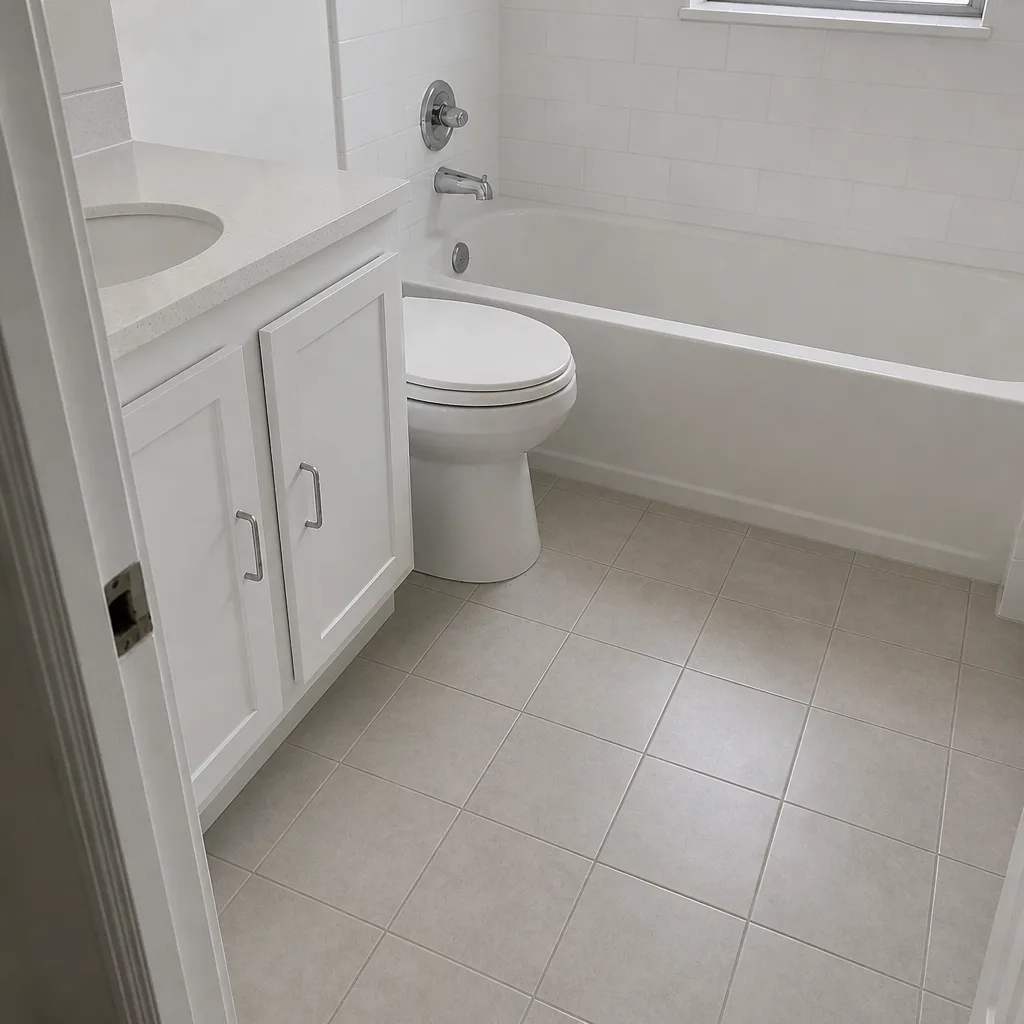
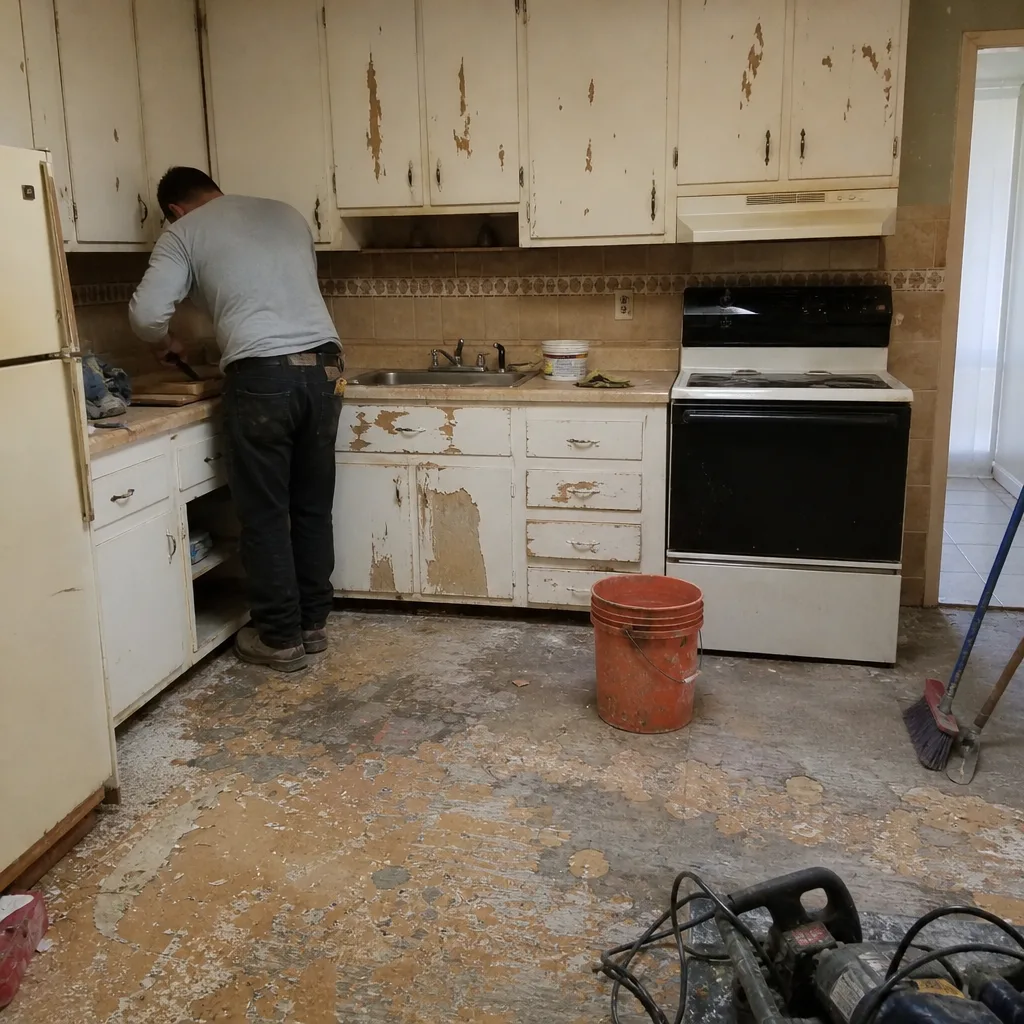
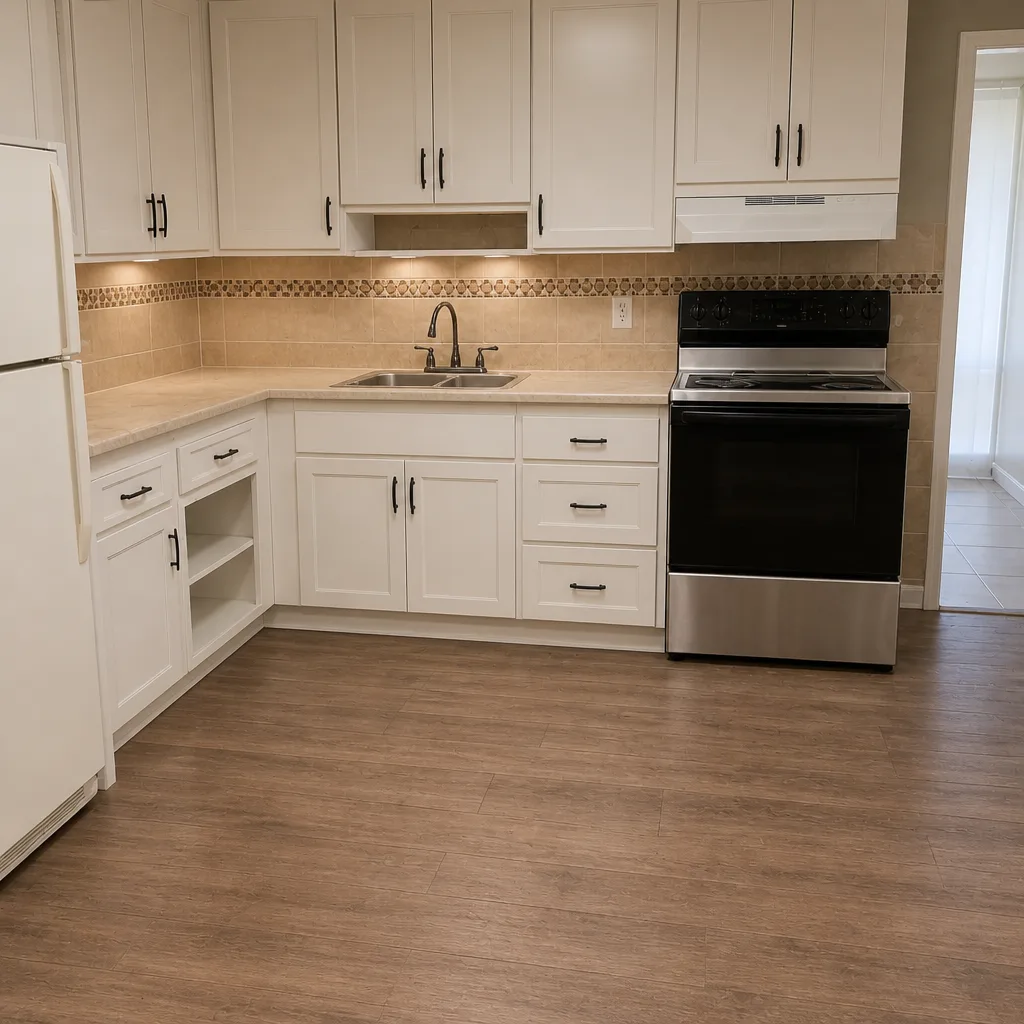
See the difference
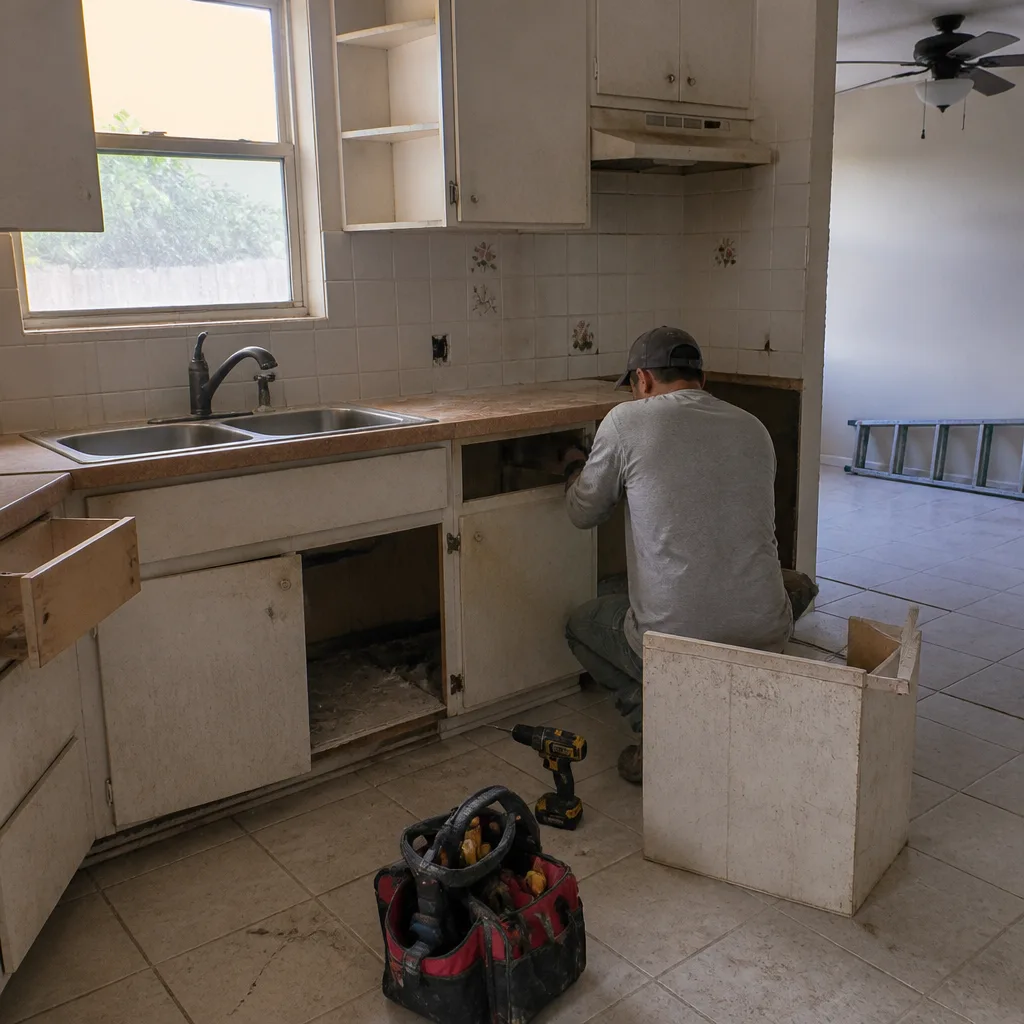 Before
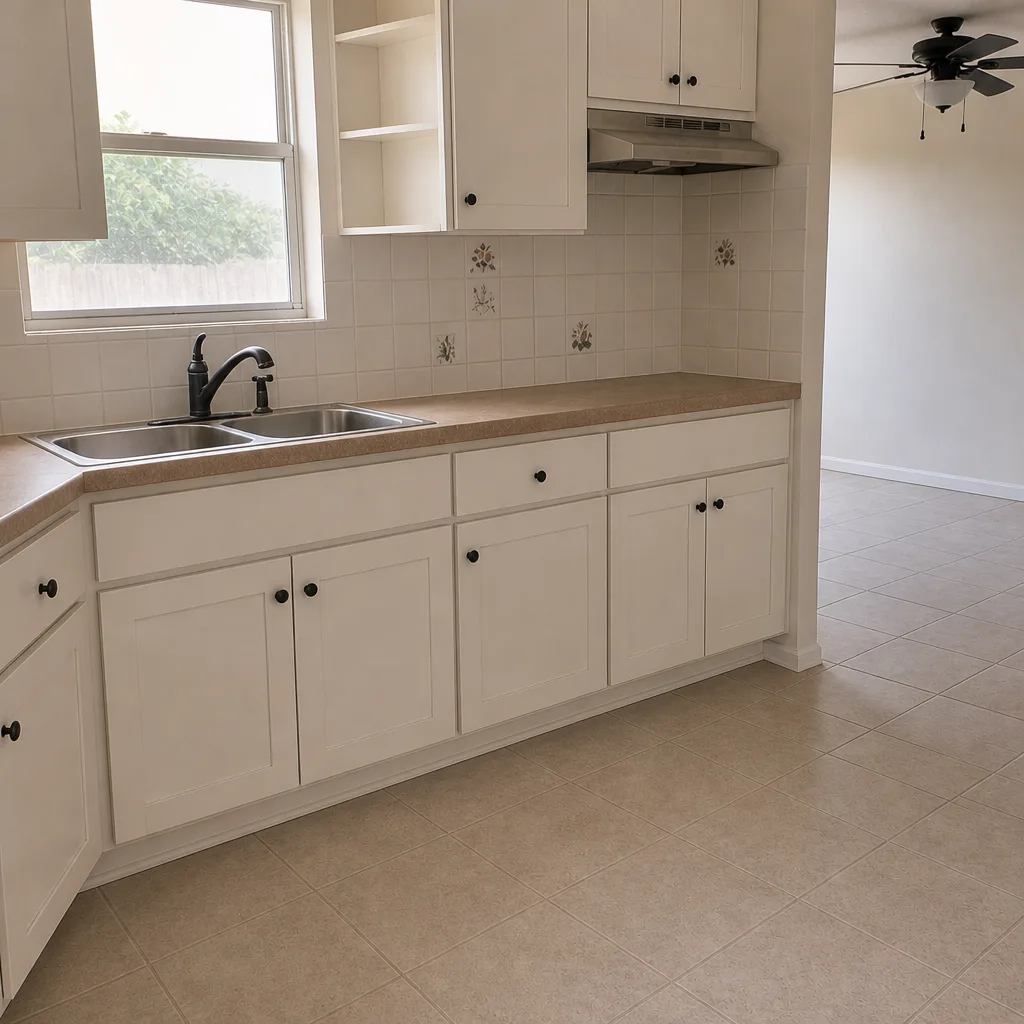 After
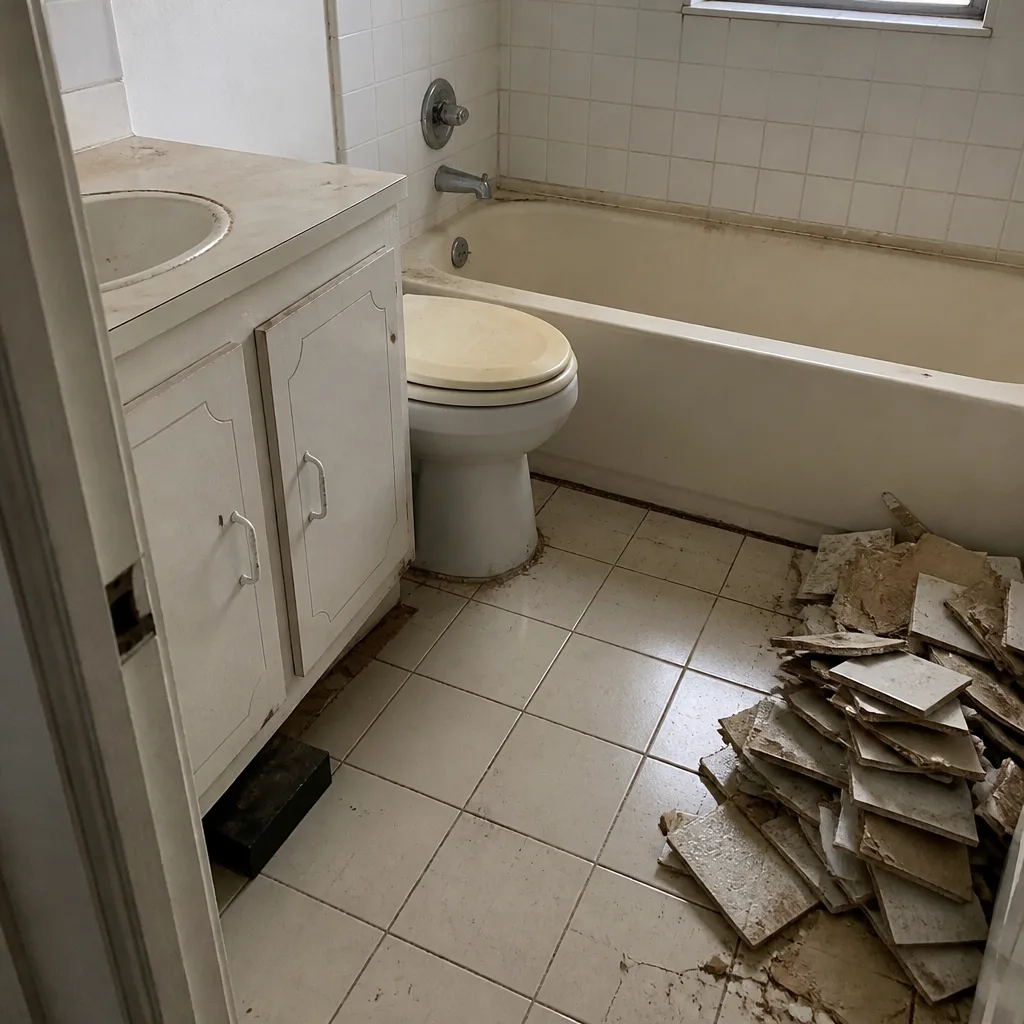 Before
 After
 Before
 After
When to Call a Professional
Call a professional when the problem involves anything inside the wall or under the floor: a pressure test that failed, a drain line with a slope or vent problem, a duct that’s come off its collar in an attic, or a cabinet run that’s out of level after the countertops are set. None of those are homeowner-level fixes, and a wrong fix multiplies the damage. Call us too if you’re past the warranty window and want an honest read on what’s failing and whether it’s repairable or a replacement. Bradford Remodeling Co Cutler Bay offers free estimates in Cutler Bay – call (833) 620-5491 to schedule yours.
Frequently Asked Questions

At rough installation, correcting an unlevel cabinet run is a few hours of re-shimming and re-anchoring, typically a minor line item. After countertops are templated, you pay for re-templating and a second fabricator visit. After the countertops are installed, the correction can run into the thousands because the stone is pulled and possibly re-fabricated. Call (833) 620-5491 for an exact quote on your job – estimates are free.
It’s one of three problems: a venting issue, a slope issue, or a trap issue. A drain that gurgles as it clears or smells like sewer gas is usually venting. A drain that clears briefly after snaking and then slows again is usually slope. A visible double trap under the sink is a trap issue. The first two need a licensed plumber; the visible trap is the only part a homeowner should check. Call (833) 620-5491 and we’ll diagnose it – estimates are free.
Typically about 1 to 1.5 inches unsupported past the cabinet box for both granite and quartz. Anything deeper needs corbels or a hidden steel sub-top specified on the fabrication drawing. On a Florida concrete block home, the cabinets are anchored to block with little give, so an unsupported overhang cracks at the seam rather than flexing. Ask to see the overhang and support on the fabrication drawing before the slab is cut.
It depends on what failed. If the duct connection was made wrong at installation, that’s the installer’s scope and should be covered under warranty. If the duct was correct and the roof or wall cap cracked, that’s a cap replacement. In Cutler Bay, code requires venting outside and the attic heat accelerates duct failures, so ask for mastic-sealed joints and mechanical clamps. Call (833) 620-5491 and we’ll tell you what failed and who owns it – estimates are free.
Yes. Permits are part of the scope, including the rough-in plumbing inspection that has to pass before the wall closes. The written price includes the permit and inspection costs, and those numbers don’t move at the door. Call (833) 620-5491 to review the scope and permit requirements for your Cutler Bay kitchen – estimates are free.
Document the defect with dated photos, note when you noticed it and when the install happened, and send a written notice describing the defect and the requested correction with a reasonable deadline. Keep a copy and send it by a provable method. Florida’s contractor warranty statute works off that paper trail. Bradford’s 365-Day Done Right Promise is a written guarantee on every completed project – if the work fails inside that window, we come back and correct it at no charge. Call (833) 620-5491 if you have a claim in progress – estimates are free.
The Bottom Line
Kitchen remodel problems have specific causes and specific fixes. Unlevel cabinet runs are cheap to correct at rough installation and expensive after countertops go in. Rough-in plumbing that isn’t pressure-tested fails where you can’t see it. Overhangs that exceed the material’s limit crack at the seam. Range hood ducts fail in Cutler Bay heat unless they’re mastic-sealed and mechanically clamped. And every defect is easier to resolve with a written scope and a written guarantee from day one. The Garrison Standard puts both in your hand before a tool comes out, and the 365-Day Done Right Promise backs the work after close.
Contact

If you’re troubleshooting a kitchen remodel in Cutler Bay, or you’re planning one and want a straight number before you commit, call Bradford Remodeling Co Cutler Bay at (833) 620-5491 for a free estimate. A live person answers, 24 hours a day, seven days a week. We’ll put the scope and the price in writing before anything starts, and every completed project is covered by the 365-Day Done Right Promise. Start with our Bradford Remodeling Co Cutler Bay home page to see the full range of work we take on.
Written by the team at Bradford Remodeling Co Cutler Bay.